README
by ACM at CSUF
The official ACM at CSUF blog.

Dev Portfolio Project Final Part - Experiences & Projects
Introduction 🥳
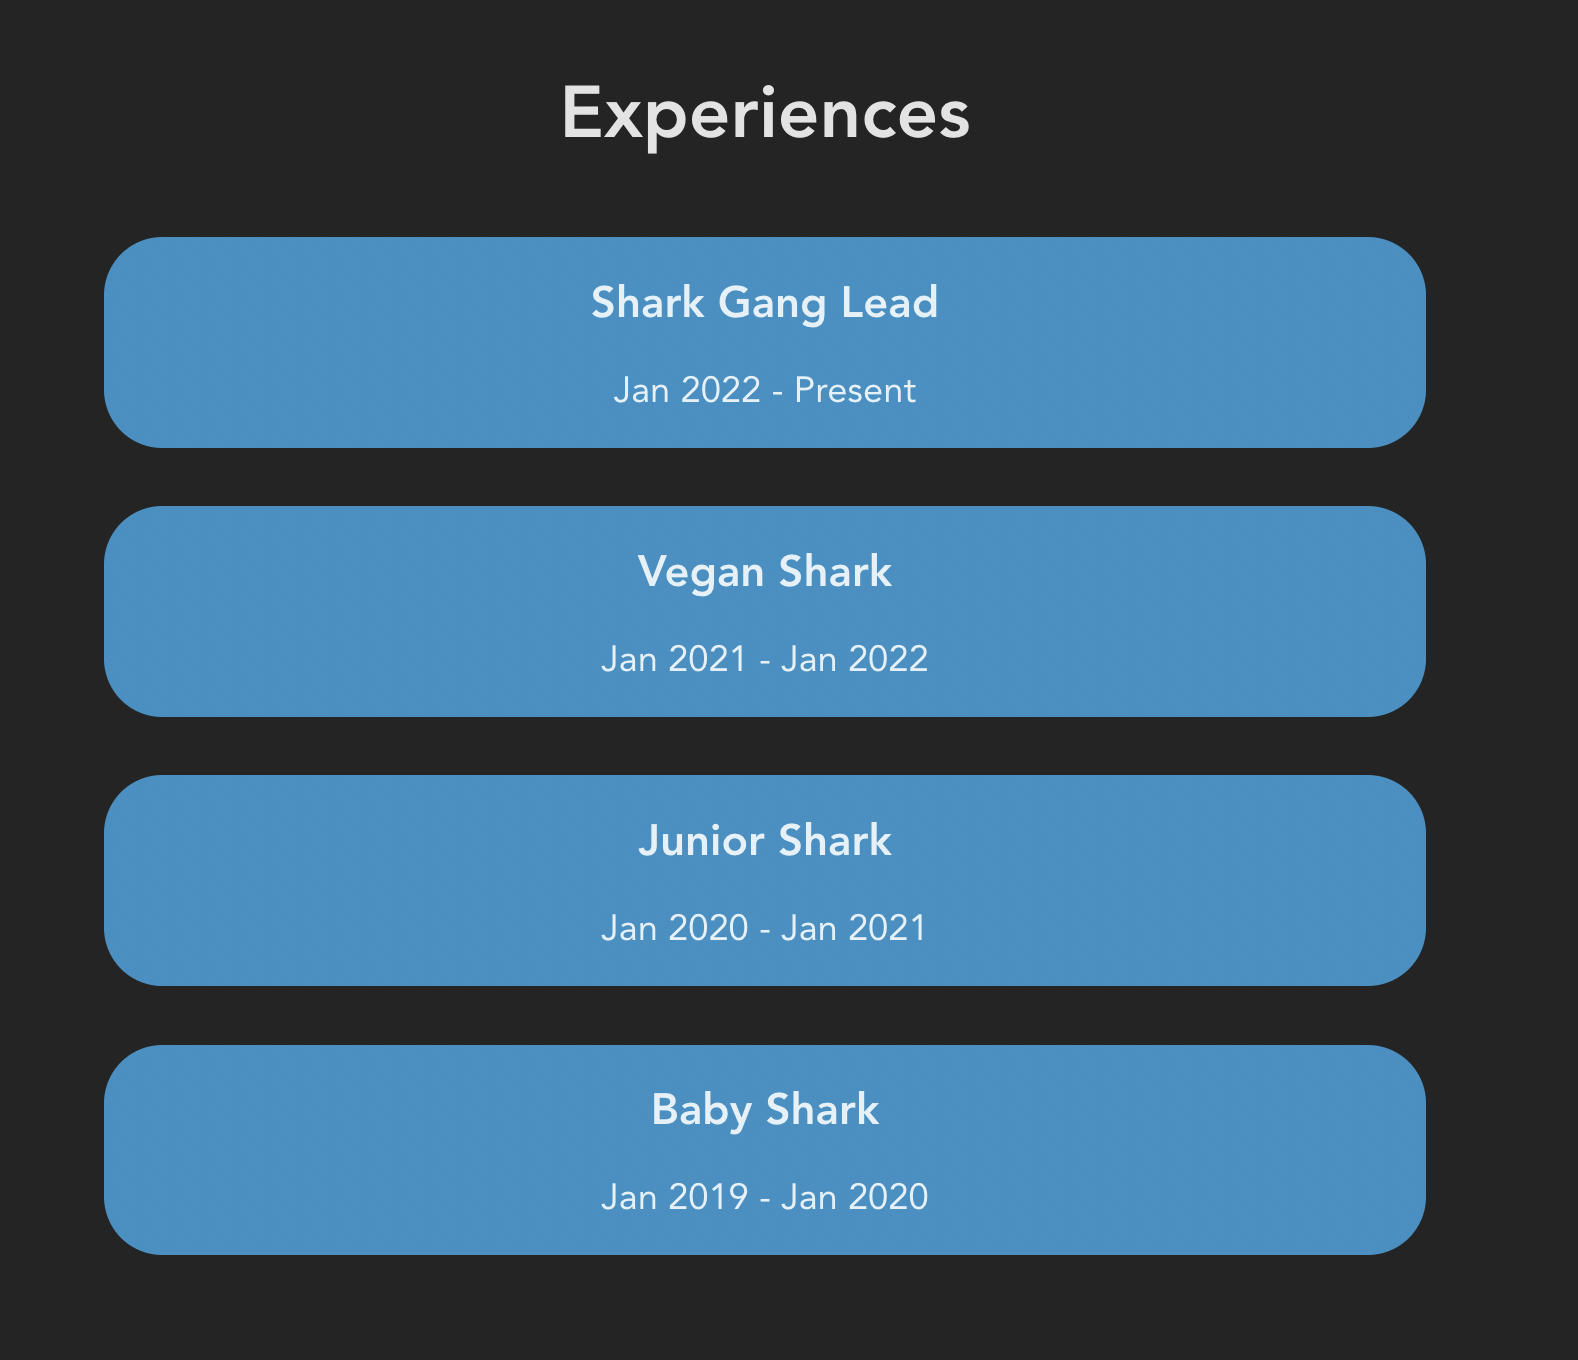
- In this blog, we'll guide you to create the last 2 components: Experiences and Projects for our portfolio website and it looks something like this

What'll be covered in this blog 🤓
- #each loop in Svelte ( we've learned this in part 2 )
Let's start 🤖
Create Experiences + Projects components
- Similar to what we did in previous parts, we'll create
Experiences.svelteandProjects.sveltein our components folder

NOTE: Don't forget to import our component in
App.svelte- our main Svelte fileApp.svelte
<script>
  import About from "./components/About.svelte";
  import Experiences from "./components/Experiences.svelte";
  import NavBar from "./components/NavBar.svelte";
  import Projects from "./components/Projects.svelte";
</script>

<main>
  <NavBar />
  <div>
    <About name={"Frank"} />
    <Experiences />
    <Projects />
  </div>
</main>

<style>
  main {
    margin: 1rem;
    font-size: 1.25rem;
  }
</style>
Experiences Component
- Similar to what we did in NavBar.svelte, we'll also create a JavaScript Array of Objects to hold our data and then use Svelte #each loop to render them to our browser
<script>
  const exps = [
    {
      title: "Shark Gang Lead",
      duration: "Jan 2022 - Present",
    },
    {
      title: "Vegan Shark",
      duration: "Jan 2021 - Jan 2022",
    },
    {
      title: "Junior Shark",
      duration: "Jan 2020 - Jan 2021",
    },
    {
      title: "Baby Shark",
      duration: "Jan 2019 - Jan 2020",
    },
  ];
</script>

<section class="container__exps" id="Experiences">
  <p class="header--big">Experiences</p>
  {#each exps as { title, duration }}
    <div class="container__exp">
      <p class="header__title">{title}</p>
      <p class="header__duration">{duration}</p>
    </div>
  {/each}
</section>

<style>
  .container__exps {
    margin-top: 10rem;
    display: flex;
    justify-content: center;
    flex-direction: column;
  }
  .header--big {
    font-size: 2.5rem;
    font-weight: 780;
  }
  .container__exp {
    background-color: #2C91C6;
    border-radius: 2rem;
    margin: 1rem;
  }
  .header__title {
    font-size: 1.5rem;
    font-weight: 600;
  }
</style>
SCROLLING EFFECT
Notice that we set the
id="Experiences"for our<section>since we want the scrolling animation that whenever we click an item on our Navbar it'll scroll to the section with the matching id, let's recall our Navbar code for this:NavBar.svelte
  const navItems = [
    { title: "About", url: "#About" }, // Scroll to section with id About
    { title: "Experiences", url: "#Experiences" }, // Scroll to section with id Experiences
    { title: "Projects", url: "#Projects" }, // Scroll to section with id Projects
  ];
And we also need to add a little bit of CSS to make the scrolling become smoother
app.css
html {
  scroll-behavior: smooth;
}
Projects Component
- Similar to what we did in Experiences.svelte, we'll also create a JavaScript Array of Objects to hold our data and then use Svelte #each loop to render them to our browser
<script>
  const projects = [
    {
      title: "acmcsuf.com",
      description: "Developed acmcsuf.com website",
      url: "https://github.com/EthanThatOneKid/acmcsuf.com",
    },
    {
      title: "Intro to Web Dev",
      description: "Beginner friendly Web Dev series by acmDev",
      url: "https://github.com/acmCSUFDev/intro-to-web-dev",
    },
    {
      title: "ICON",
      description: "Notion Canvas integration for students",
      url: "https://github.com/acmCSUFDev/ICON",
    },
    {
      title: "Food Tinder",
      description: "tinder for matching people by food places",
      url: "https://github.com/acmCSUFDev/Food-Tinder",
    },
  ];
</script>

<section class="container__projects" id="Projects">
  <p class="header--big">Projects</p>
  {#each projects as { title, description, url }}
    <div class="container__project">
      <a href={url} target="_blank">
        <p class="header__title">{title}</p>
      </a>
      <p>{description}</p>
    </div>
  {/each}
</section>

<style>
  .container__projects {
    margin-top: 10rem;
    display: flex;
    justify-content: center;
    flex-direction: column;
  }
  .header--big {
    font-size: 2.5rem;
    font-weight: 780;
  }
  .container__project {
    margin: 1rem;
  }
  .header__title {
    color: white;
    font-size: 1.5rem;
    font-weight: 600;
    transition: 400ms all;
  }
  .header__title:hover {
    color: #2c91c6;
  }
</style>
Now, you've successfully built up a decent website 🤩 🤩 You can always check the full code HERE
Let's see how're we going to deploy this in the next blog :D
October 28, 2022 • 7 min read
Dev Portfolio Project Part 3 - About
Introduction 🥳
- In this blog, we'll guide you to create the About component for our portfolio website and it looks something like this

What'll be covered in this blog 🤓
- Display image on website
- Props in Svelte
Let's start 🤖
Create About component
- Similar to our NavBar in part 2, we'll create an
About.sveltein our components folder

NOTE: Don't forget to import our component in
App.svelte- our main Svelte file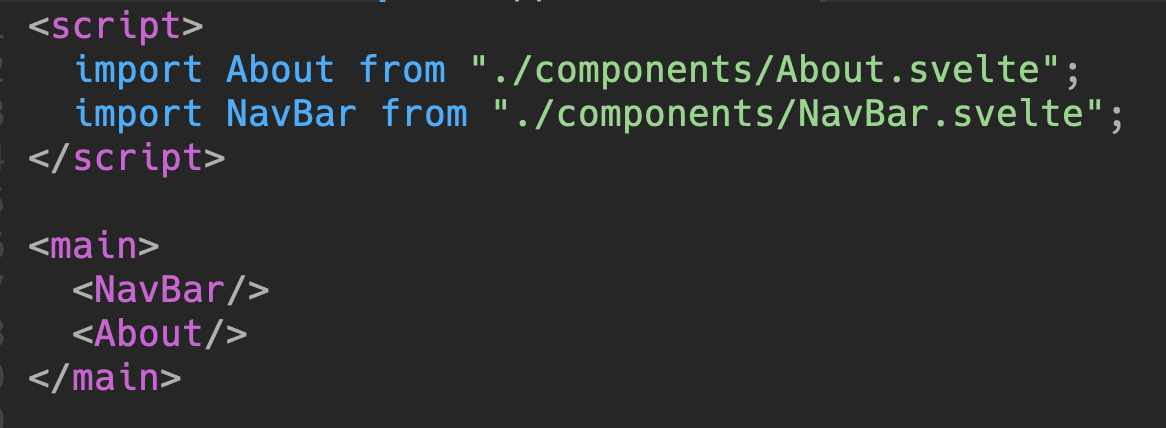
Display an Image on our website
- To display an image, we'll need to use the
<img src="" alt=""> </img>in HTML, but we first need to have an image link, it can be image link from the internet or your local image files
EX: Here's an online image link from Unsplash ( website for free images )
https://images.unsplash.com/photo-1586115457457-b3753fe50cf1?ixlib=rb-4.0.3&ixid=MnwxMjA3fDB8MHxwaG90by1wYWdlfHx8fGVufDB8fHx8&auto=format&fit=crop&w=1576&q=80EX: Here's a local image ( We downloaded a .svg image and put it in our assets folder )

Now, let's try to import our local image in our
About.svelte<script> import frank from "../assets/frank.svg"; // Import our local image </script> <section> <div class="container__about" id="About"> <!-- Import the frank image and have it as our image source with width = 180px and height = 123px --> <img width={180} height={123} src={frank} alt="" /> <p class="header--small">Hi, I'm Frank </p> <p class="header--big">WELCOME TO MY PORTFOLIO</p> </div> </section> <style> .container__about { display: flex; flex-direction: column; align-items: center; margin-top: 10rem; } .header--small { font-size: 1.5rem; margin: 2rem 0 0 0; font-weight: 600; } .header--big { font-size: 2rem; color: #2C91C6; font-weight: 700; } </style>
Then, after you save file, you should see the an image of Frank along with the welcome message 🦈
BONUS: Props in Svelte 👀
In any real application, you'll need to pass data from one component down to its children. To do that, we need to declare properties, generally shortened to 'props'. In Svelte, we do that with the
exportkeywordLet's see that with some code:
Passing props
App.svelte
<script>
  import About from "./components/About.svelte";
  import NavBar from "./components/NavBar.svelte";
</script>

<main>
  <NavBar/>
 <!-- we're passing a string with props name ```name```  to About component -->
  <About name="Frank"/>
</main>

<style>
	main {
		margin: 1rem;
		font-size: 1.25rem;
	}
</style>
Receiving props
About.svelte
<script>
  export let name; // receive props ```name```
  import frank from "../assets/frank.svg";
</script>

<section>
  <div class="container__about" id="About">
    <img width={180} height={123} src={frank} alt="" />
   <!-- We're using the props here -->
    <p class="header--small">Hi, I'm {name}</p>
    <p class="header--big">WELCOME TO MY PORTFOLIO</p>
  </div>
</section>

<style>
  .container__about {
    display: flex;
    flex-direction: column;
    align-items: center;
    margin-top: 10rem;
  }
  .header--small {
    font-size: 1.5rem;
    margin: 2rem 0 0 0;
    font-weight: 600;
  }

  .header--big {
    font-size: 2rem;
    color: #2C91C6;
    font-weight: 700;
  }
</style>
So, now if you change the props name into another string, it'll update the name in our About.svelte dynamically, so you can see that props will be helpful if we want to update dynamically instead of hard-coding the string 🥰
Now, you've successfully made the About component 🤩 🤩 You can always check the full code HERE
October 21, 2022 • 6 min read
Dev Portfolio Project Part 2 - NavBar
Introduction 🥳
- In this blog, we'll guide you to create a navigation bar for your website
Prerequisites 🥸
- Cloned the website and able to run it locally ( If not: check previous part )
What you will learn 🤓
- Brainstorming about website layout
- Project folder + file structures
- Components
- Svelte #each loop
- JavaScript Date object
- ... many more
Let's Start 🤖
I. Website Layout 🌐
Here's what our final website will look like

Here's how it'll be broken down before jumping to code

II. Let's take a look at our project structure 👀
Here's what you will see when first start

Although there're lots of folders to look at, we only focus on the "src" folder

Here're the main files/folders you need to know
App.svelteis our main Svelte fileApp.cssis our main global CSS filelibfolder contains our components which we will rename to "components" later on instead
Let's do a quick clean up by removing things we don't need
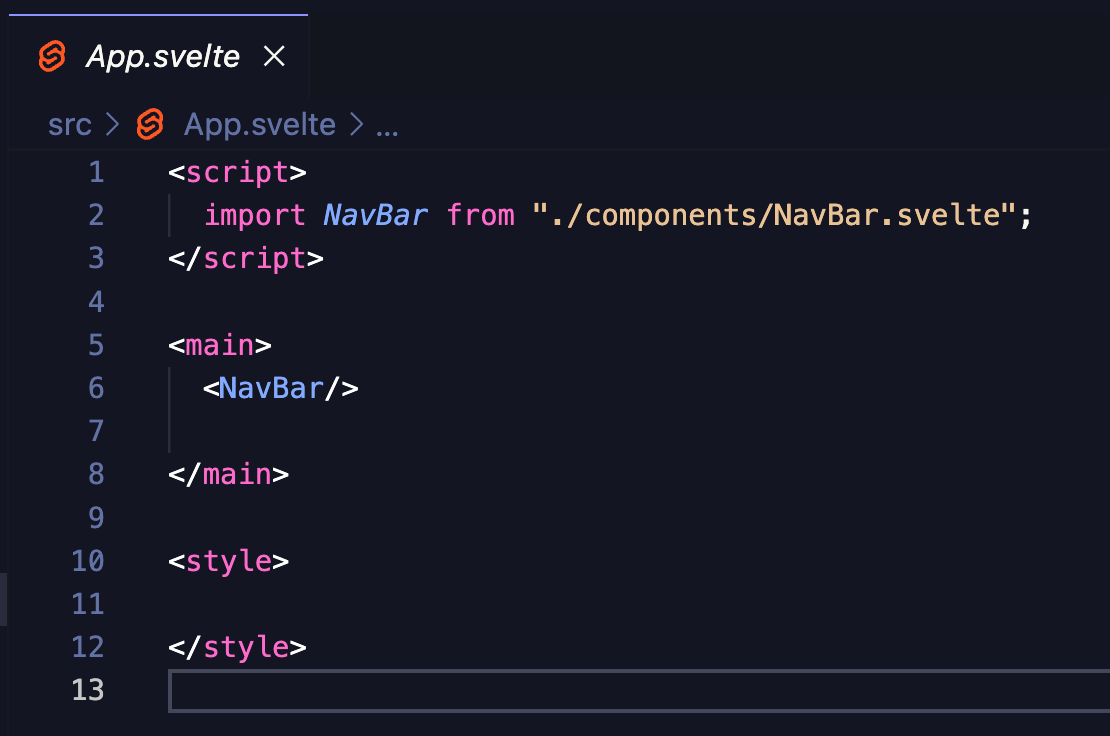
App.svelte: Delete everything but the tags
App.css: Deleteplace-items:center( line 30 ) since it'll make everything become center and we don't want that
lib: Rename tocomponents
Delete
Counter.svelte
III. Good job, now let's start making our NavBar 🥳
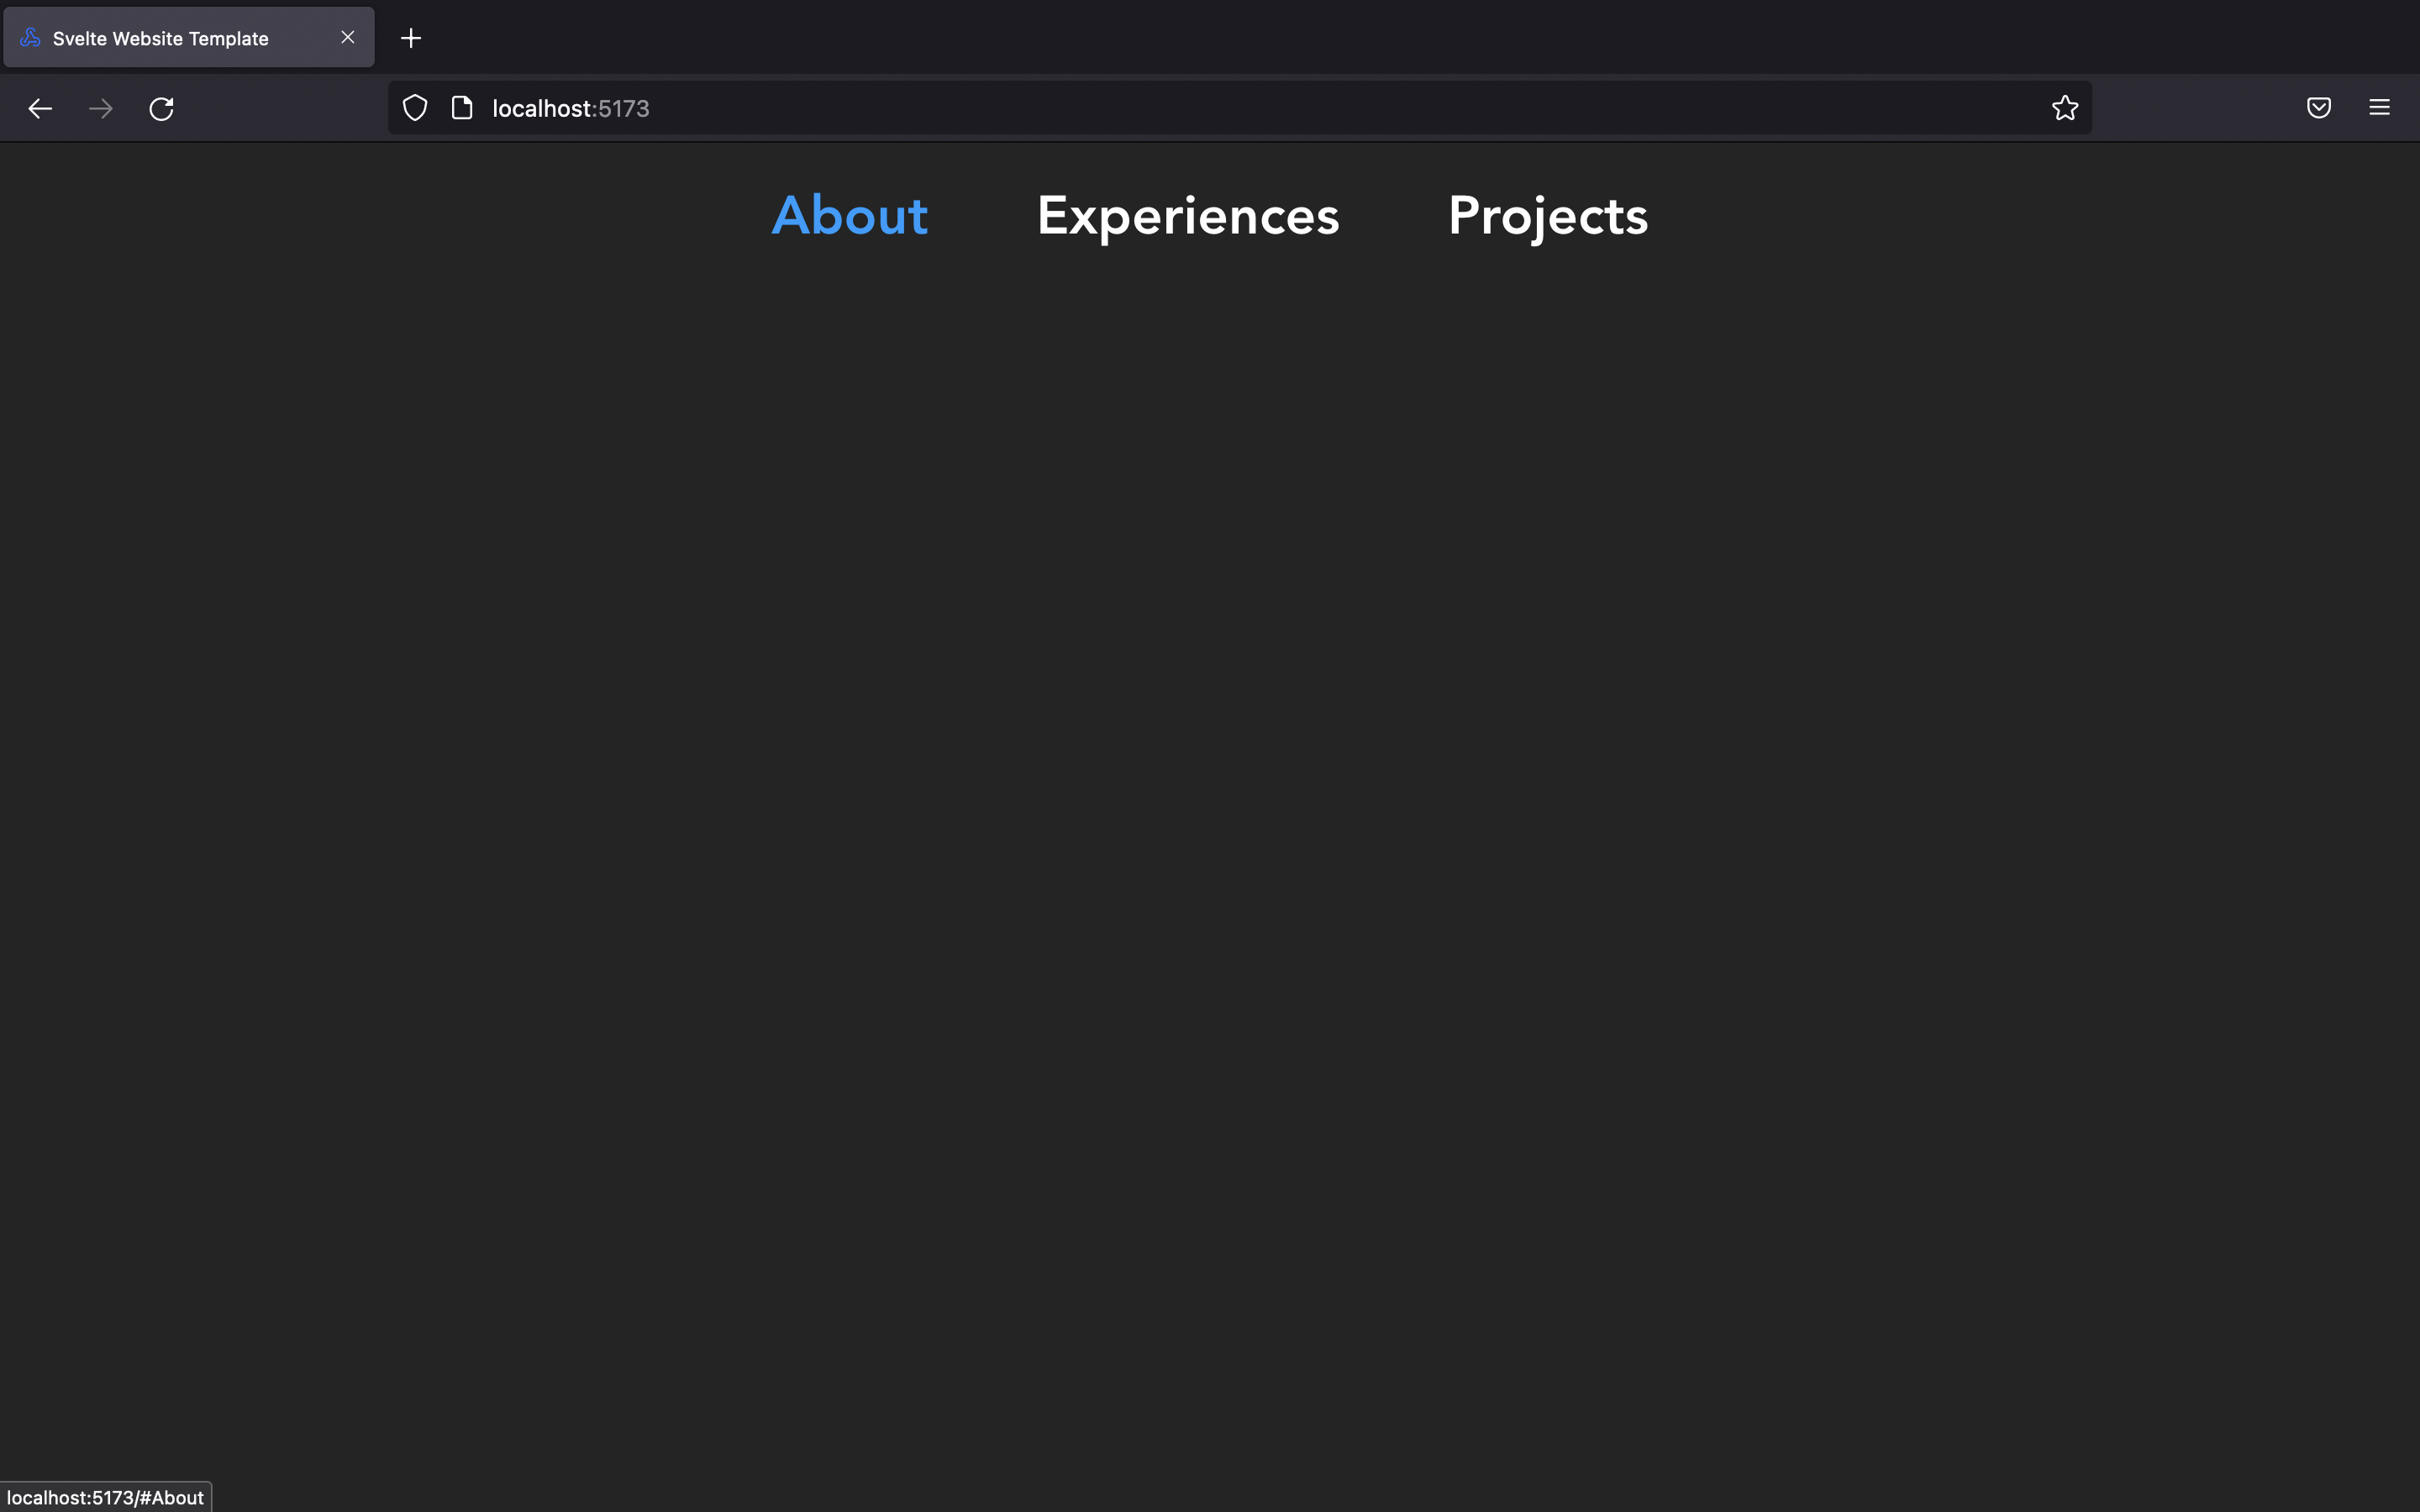
- Here's the NavBar we want to make:
About, Experiences, Projects are link to our sections, Thursday is the current date ( we'll use JavaScript Date Object to make this )

- In
componentsfolder, create a file calledNavBar.svelteand add the necessary tags as follow
Note: You don't need to have all tags as below, you can even have just a
<nav> </nav>tag and it's still valid in Svelte
Now, let's see how component works in Svelte
- Type anything between
<nav> </nav>( because if you want to display something, it has to be within a HTML tag ) in yourNavBar.sveltefile and save it
<p> </p>tag stands for paragraph
- Now, if you run your website using
npm run dev, it won't display that words because you have to import it inApp.svelte- our main Svelte file
Tada !! that's how you import a component , when you run your website again, you should see it display NavBar content

Now, let's go back to
NavBar.svelteand start creating our navigation barYou can copy paste this code block and read the comments to understand more
<script>

</script>

<nav>
 <!-- We're creating a navigation bar with 3 items: About, Experiences, Projects\-->

     <section class="container__nav" id="/">
        <ol>
  <!-- the href=#something  links to each section so we can create a scroll to section feature\-->
           <li>
               <a href='#About' class="nav__item">
                  About
               </a>
          </li>
          <li>
               <a href='#Experiences' class="nav__item">
                 Experiences
               </a>
         </li>
      <li>
          <a href='#Projects' class="nav__item">
            Projects
          </a>
     </li>
   </ol>
</section>
</nav>

<style>
/* This is CSS style for our navigation bar */
   ol {
    list-style: none;
  }
  li {
    padding: 0;
  }
  .container__nav {
    display: flex;
    justify-content: center;
    align-items: center;
    flex-direction: row;
  }
  .nav__item {
    color: white;
    font-weight: 600;
    font-size: 2rem;
    margin: 0 2rem;
    transition: all 400ms;
  }
  .nav__item:hover {
    color: rgb(0, 157, 255);
  }
  .time {
    color: #1a1a1a;
    font-weight: 700;
    background-color: #2C91C6;;
    padding: 0.35rem;
    margin: 0 2rem;
    border-radius: 12px;
  }
</style>
Now, when you save the file, our NavBar will look nicer
⚠️ BUT, don't you think this block of code is kinda repetitive? we don't want to type the same thing every time we add a new item to our nav bar<ol class="container__nav" id="/"> <!-- the href=#something links to each section so we can create a scroll to section feature--> <li> <a href='#About' class="nav__item"> About </a> </li> <li> <a href='#Experiences' class="nav__item"> Experiences </a> </li> <li> <a href='#Projects' class="nav__item"\> Projects </a> </li> </ol>
💡So, what we can do better by using Svelte #each loop, we'll create an Array of Objects that hold our nav items and then loop through every items and render it to the browser
NavBar.svelte
<script>
  // @ts-nocheck
  history.scrollRestoration = "manual" // Prevent automatic scrolling
  const navItems = [
    { title: "About", url: "#About" },
    { title: "Experiences", url: "#Experiences" },
    { title: "Projects", url: "#Projects" },
  ];

</script>

<nav>
  <section class="container__nav" id="/">
    <ol class="container_nav" id="/">
      {#each navItems as { title, url }}
        <li>
          <a href={url} class="nav__item">
            {title}
          </a>
        </li>
      {/each}
    </ol>
  </section>
</nav>

<style>
   ol {
    list-style: none;
  }
  li {
    padding: 0;
  }
  .container__nav {
    display: flex;
    justify-content: center;
    align-items: center;
    flex-direction: row;
  }
  .nav__item {
    color: white;
    font-weight: 600;
    font-size: 2rem;
    margin: 0 2rem;
    transition: all 400ms;
  }
  .nav__item:hover {
    color: rgb(0, 157, 255);
  }
  .time {
    color: #1a1a1a;
    font-weight: 700;
    background-color: #2C91C6;;
    padding: 0.35rem;
    margin: 0 2rem;
    border-radius: 12px;
  }
</style>
JavaScript Date Object 📆
Display the current date with custom parameters
We can do that in the
<script> </script>that allows us to use JavaScript magiclet time = new Date(Date.now()); // Create Date Object const options = { // We'll need this option for toLocaleDateString() method later on to display on the weekday weekday: "long", };
Then we can display it in our html like this to display current weekday:
<p class="time">{time.toLocaleDateString(undefined, options)}<p>
Here's the full code for
NavBar.svelte<script> // @ts-nocheck history.scrollRestoration = "manual" // Prevent automatic scrolling const navItems = [ { title: "About", url: "#About" }, { title: "Experiences", url: "#Experiences" }, { title: "Projects", url: "#Projects" }, ]; let time = new Date(Date.now()); const options = { weekday: "long", }; </script> <nav> <section class="container__nav" id="/"> <ol class="container__nav" id="/"> {#each navItems as { title, url }} <li> <a href={url} class="nav__item"> {title} </a> </li> {/each} <p class="time">{time.toLocaleDateString(undefined, options)}</p> </ol> </section> </nav> <style> ol { list-style: none; } li { padding: 0; } .container__nav { display: flex; justify-content: center; align-items: center; flex-direction: row; } .nav__item { color: white; font-weight: 600; font-size: 2rem; margin: 0 2rem; transition: all 400ms; } .nav__item:hover { color: rgb(0, 157, 255); } .time { color: #1a1a1a; font-weight: 700; background-color: #2C91C6;; padding: 0.35rem; margin: 0 2rem; border-radius: 12px; } </style>
Now, you've successfully made the navigation bar 🤩 🤩 You can always check the full code HERE
October 13, 2022 • 12 min read
Dev Portfolio Project Part 1 - Getting Started
Introduction 🥳
- This is a beginner friendly series made by acmDev team with the goal to help beginner developers create their first website using Svelte ( Javascript framework to build website )
What'll be covered in this blog 🤓
- Required installation for the project
- Setup the project ( clone the repo )
- Run the project locally
Let's start 🤖
A. Technology Installation:
- VSCode ( text editor - where you'll code ) - Required
- Node.js v16+ ( JavaScript environment to help you install Svelte later on ) - Required
- Note for Ubuntu/Tuffix users: Refer to the instructions at the bottom of the page
- Svelte Plugins ( after you've downloaded VSCode, open Extensions and search for Svelte to install the plugins - it helps you highlight code and autocomplete with Svelte syntax) - Required
- Git ( for collaboration purpose and you'll need to use this in real world but not necessary for this project ) - Optional
B. Setup the project:
Project Template Link
1. Clone the repo ( 2 ways )
- Using Git ( You'll need to Download Git first )
- Type the command
git clone https://github.com/acmCSUFDev/website-template.gitin your terminal to clone
- Download the ZIP file from this repo ( Beginner Friendly )

2. Open with VSCode
- Once you've cloned our website template, UNZIP the folder if you choose method 2, then open the folder you've just unzipped in VSCode

C. Run the project locally
-
Have Node.js installed.
-
In your VSCode, in the project folder, open Terminal and type
npm install -
After npm install, you should see a folder called node_modules which indicated you've used npm install correctly
-
Run your website by typing and click on the link provided
npm run dev

After you click on the link provided, you should see our beautiful Svelte template :) congrats 🤩
Note on installing Node.js on Ubuntu/Tuffix
By default,
sudo apt install nodejswill install node v10 which is incompatible with Svelte. To remedy this, first uninstall the existing nodejs and npm installation withsudo apt remove nodejs npmand install Node Version Manager usingwget -qO- https://raw.githubusercontent.com/nvm-sh/nvm/v0.39.2/install.sh | bashAfterwards, restart your terminal to load the new
nvmcommand.Now run
nvm install 16andnvm use 16to install and set node v16 as the default versionRun
node -vto verify the correct version is now in useOctober 13, 2022 • 3 min read
