README
by ACM at CSUF
The official ACM at CSUF blog.

Setting Up a Unity Repository
Getting Started
Before we begin, make sure you have both of the following downloaded:
- GitHub Desktop
- Unity engine version 2021.3.18f1 downloaded. Any version of Unity should work as long as it is 2021.3.18f1 and after! 1
In order to download multiple Unity versions, please download Unity Hub first. You'll need to create an account and agree to the free personal license as prompted.
Minimum System Requirements
The following are the system requirements in order to be able to run Unity engine:
- Windows 7+, Mac OS X 10.13+, Ubuntu 16.04, 18.04, or CentOS 7
- Minimum 6GB of free space on your disk
Your First Project
1. Creating a Unity GitHub repository
To keep this simple, please follow along with your downloaded version of Github Desktop! Ensuring your Unity project is linked to GitHub is a semi-complicated process if you're not familiar with it. That's why this guide is here to help you!
- Open
GitHub Desktopand selectFile>New repository
- Fill out the fields in the pop-up menu. Be sure to set the git ignore to
Unity - Be sure to also initialize a
README.mdfile so we can push this repository to GitHub. - Don't forget to select
Create Repositoryonce you're finished with the settings! - After you've created the repository, feel free to commit and push your current changes/settings to GitHub.
2. Creating a new project in Unity
If you're following along with the workshop, please double check you have Unity Hub and Unity version 2021.3.f1 downloaded.
- Open
Unity Huband selectNew project(it will be in bright blue on the top right-hand side)
- In the new menu, be sure to select
2D Coreand change theProject nameto your liking - Most importantly, open
File explorerby selectingLocation, and setting it to the folder of the repository you just created (If you're using Windows, it should be underDocuments>GitHubif you didn't change any settings) - Once you're done, don't forget to select
Create project
- If you've done everything correctly, you should see the project you created in the Hub like this:
3. Open your Unity project
The first time you open your project, depending on your RAM you may have to wait a little while for Unity to do first-time setup. This occurs for each new project you make. Don't worry though - this is only for the first time setup - so hang tight!
- To open the project you just created, go ahead and just select your newly created project in the
Unity Hub - If everything went smoothly, you shouldn't see any warnings or errors and you will see the main
Unity editor view:
4. Push your newly creating project to GitHub
Now, we will be switching gears back to
GitHub Desktopto finish off this tutorial.- Open
GitHub Desktopback up - You can use the dropdown menu at the top left to ensure you are on the correct project repository
- There should be visible changes under the
Changessection on the left-hand side. Note: New changes will appear even if you have made no changes to the game because meta data files are changed each time you open the game's editor. - Go ahead and fill out a git commit title and message and then select
Commit to main
- Don't forget to
push!~
Important Note
If you are getting an error saying a file that will be uploaded is too large, it means that your
.gitignoreand.gitattributesare not located within the Unity project folder.
To fix this:- Use
File explorerand navigate to the GitHub folder and drag the.gitignoreand.gitattributesinto the Unity project folder (should be titled with the name of your project). - Ensure the files are in the right location (should look similar to the image below)

- After moving these files, you should be able to commit just fine now.
Voila!
Congrats on creating your very first Unity repository! You should be able to start your first Unity project and be able to push your progress to GitHub.
Footnotes
-
If you have any issues with this tutorial, feel free to message the ACMForge board on the ACM discord by pinging @GameDevBoard. Feel free to also contact @stephaniePocci (Commodore Jellyfish#5175) on Discord for any questions. ↩
March 13, 2023 • 5 min read
Setting up GitHub Desktop for ✨Game Development✨
What is GitHub Desktop?
Before the command-line Git warriors come for me, I ask that you read this post in its entirety first...
GitHub Desktop is a beginner-friendly user interface for source control with Git. It's used by a lot of game developers to keep track of changes to their code. Game devs also use other GUI's such as GitKraken, BitBucket, QGit and more - but we'll cover those another time. GitHub Desktop functions like any other GUI and allows you to utilize a client to manage source code, deploy their code, keep track of branches, track issues and bugs, etc.Why GitHub Desktop?
I'm sure you're thinking "Steph, I already know how to use git in command line because they shoved the commands down our throats since CPSC 120". Well you're right for individual and small-scale group projects. You only use command-line for game development if you're a masochist.
Using a GUI for source control is a much better choice for a variety of reasons:- In game dev, you'll be working with non-programmers who will have no idea how to utilize Git in the command line. This allows for non technical roles like artists, composers, designers, and producers to upload and push their changes and assets.
- It provides an easy to understand and use interface for beginners who aren't accustomed to the command line interface yet. This reduces the learning curve and increases productivity!
- There are way too many files for game development to be streamlined simply on command line. Source control GUIs like GitHub Desktop allows you to compare views of files side by side. For example, you can view two versions of the same sprite character sheet asset side by side during a merge conflict to ensure that you're keeping the artist's most updated version. (Artists get very sad when you don't use their art 😔
Basically having everything at the click of a button instead of having to memorize a bunch of commands to start doing game development is a major plus!

Don't worry GitHub Desktop has a dark mode too!Setting up GitHub Desktop for Unity
1. Setting Up GitHub Desktop
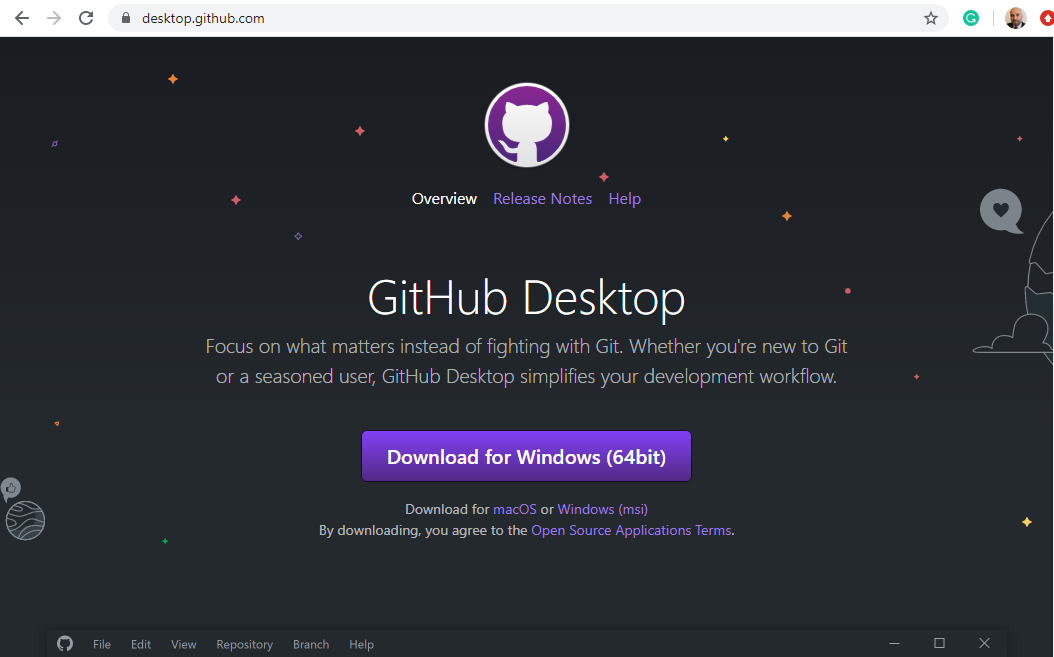
Now we get to the juicy part! Head on over to the GitHub Desktop website and download the latest version (we'll be using Windows OS for this tutorial for sake of simplicity).
Go ahead and sign into your GitHub account. If you haven't made one and need help feel free to message in the ACM discord server or turn to your neighbor in class.
Now, click onFileat the top left of the GUI and selectOptions. We're going to be adjusting some settings to make it more ✨customized✨ for you!
Feel free to go through each tab and change each options to your preferences! Don't forget to click save at the end!
2. Creating a new Repository for Unity
Once you have all your settings in order, let's create our repo! Go ahead and clickFilein the top left corner again and selectNew repository.
Next, you're going to be greeted with a brand new menu for your new repo's settings. Fill out the settings as you would normally (feel free to copy the example below) but make note of theGit ignoresection!
⚠️ Important!
Make sure to set theGit ignoretoUnityfrom the dropdown menu. Make sure to selectUnityand NOT Unity Engine. The Unity community preset is more comprehensive, frequently updated. The Unity Engine preset is given by Unity themselves and may not include all the necessary .gitignore presets.
⚠️ Once you're finished with the presets, double check that everything is how you want it and selectCreate repository.
3. Admire your shiny new Unity game repo😩💦
Publish repository. You're going to be greeted with another settings menu once more. Feel free to use the dropdown menu and select anorganizationthis repository is affiliated with, but that's completely optional! You can also uncheckKeep this code privateif you're a based open source girly 💅
Congratulations!
You can now use the repository you have just created for source control for your own Unity game! If you have questions, feel free to contact Steph (Commodore Jellyfish#5175) on the ACM Discord 💜What's next for ACMForge?
Stay tuned for upcoming ACMForge updates!
We'll be learning how to set up a repository for Unreal, how to create a new Unity project, and how to create a new Unreal project. If you have any suggestions or more tutorials you'd like to see, feel free to let us know!
- Steph 💜March 7, 2023 • 5 min read